MORTEX® - the natural choice for your decoration
MORTEX® micro-cement coating is the coating of choice for those who want to combine technical solutions, originality, distinctiveness and aesthetics.
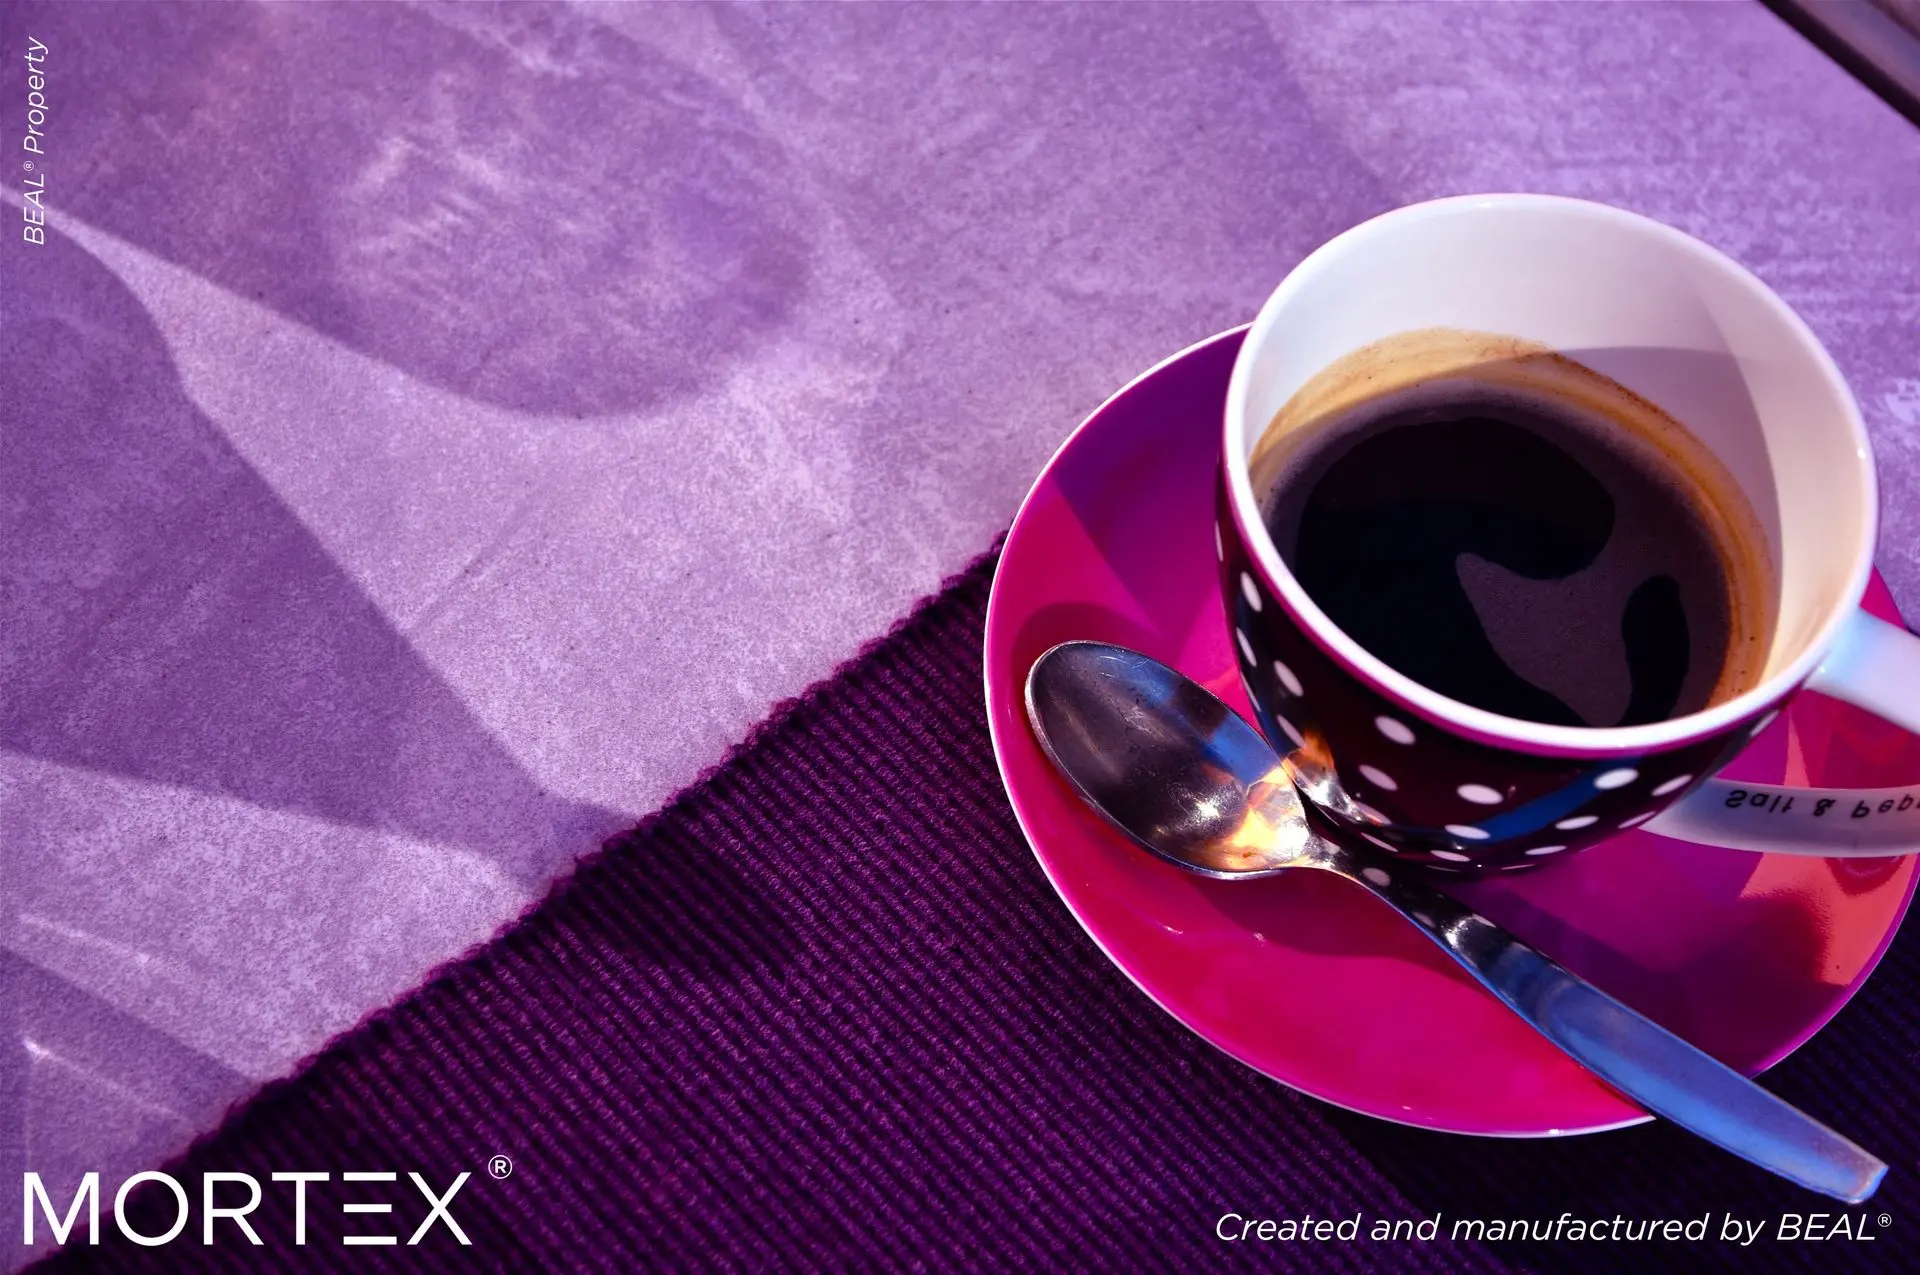
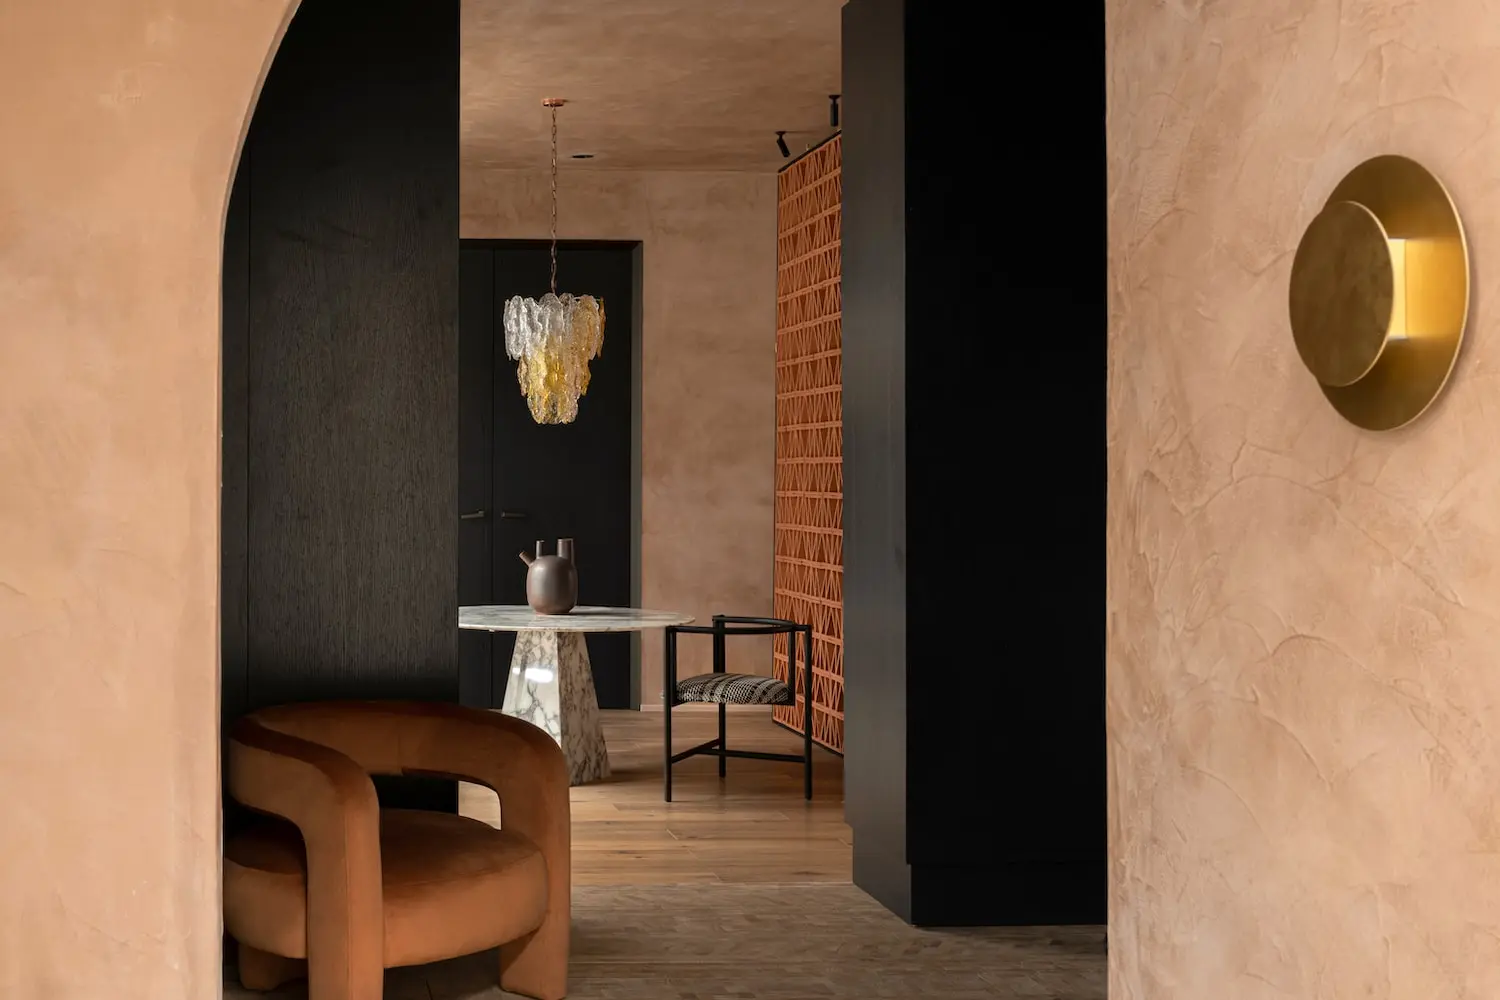
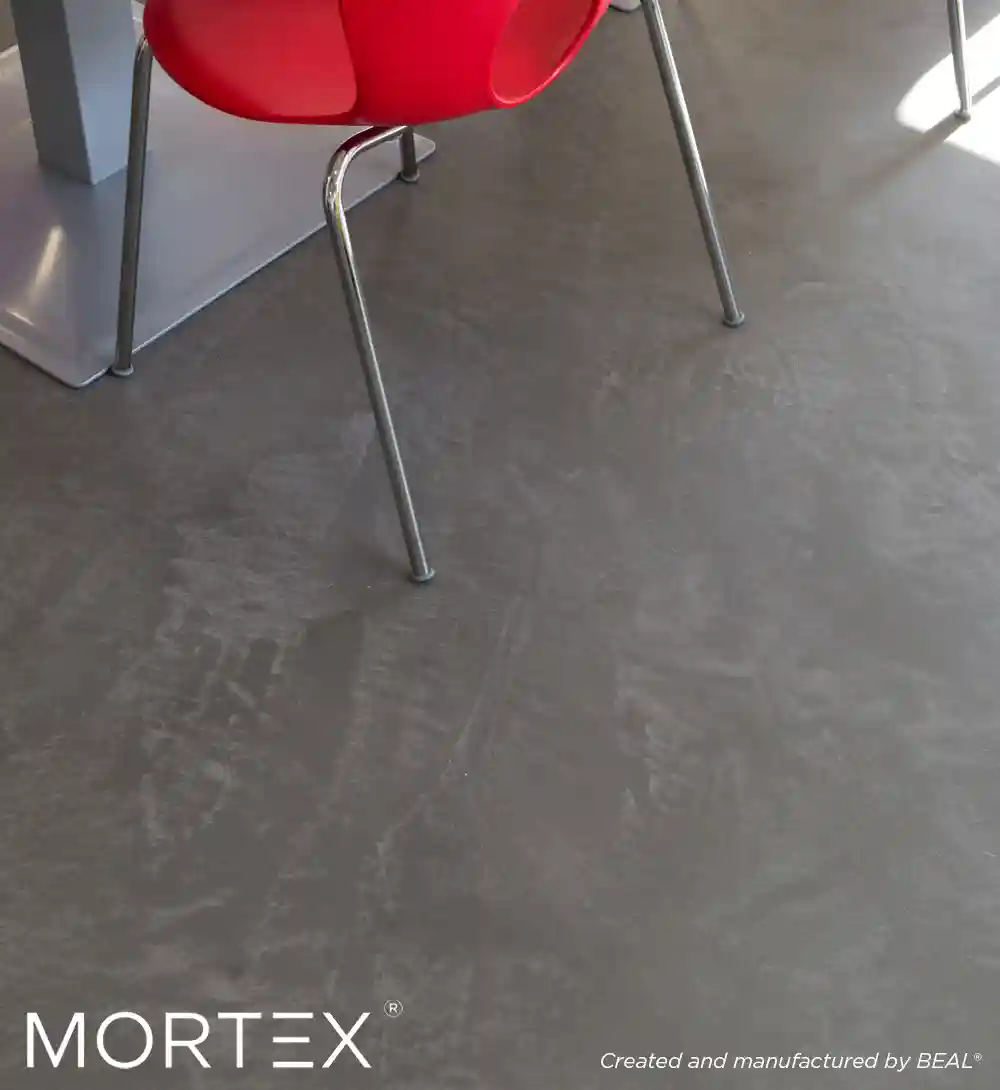
Used for both its technical properties and its finishing benefits, it gives interior and exterior design projects a mineral appearance reminiscent of micro-cement or even Tadelakt.
Thanks to its thinness and impermeability, MORTEX® mineral micro-mortar adapts to any shape, adapts to your surfaces and gives a unique look to your showers, floors, pools, stairs and furniture, both indoors and out. Bring your most creative ideas to life with MORTEX®.

MORTEX® - your reference for microcement projects
Dive into the world of MORTEX® multifunctional coatings for floors, walls, stairs, bathrooms, furniture or swimming pools? We offer endless possibilities for your projects.
MORTEX® micro-cement throughout the house
The MORTEX® micro-cement coating adapts to your technical constraints to meet all your requirements.
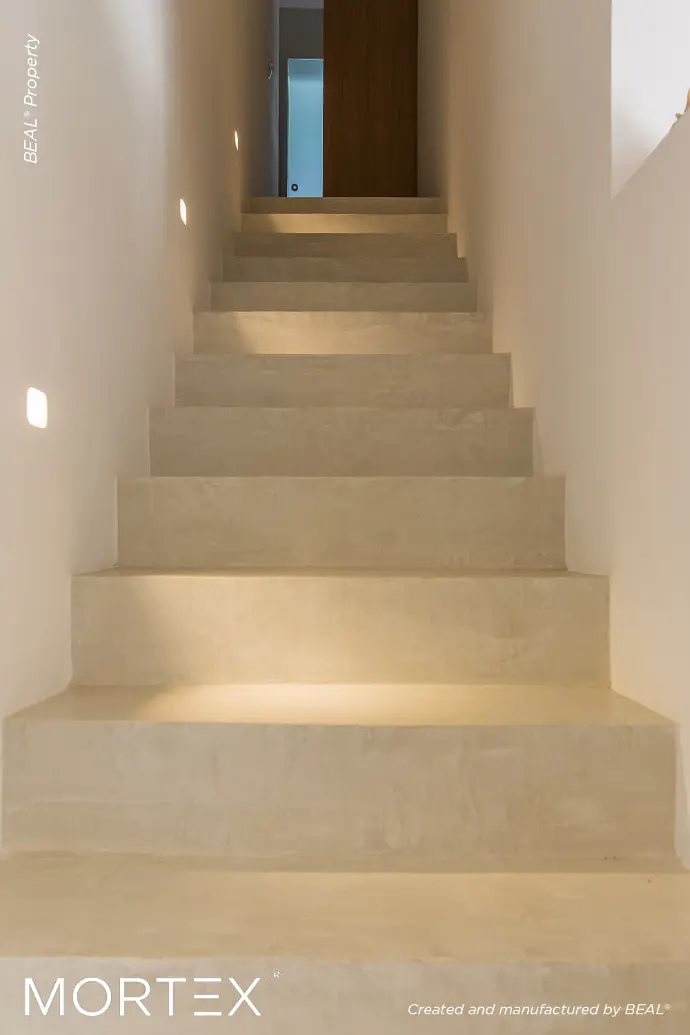
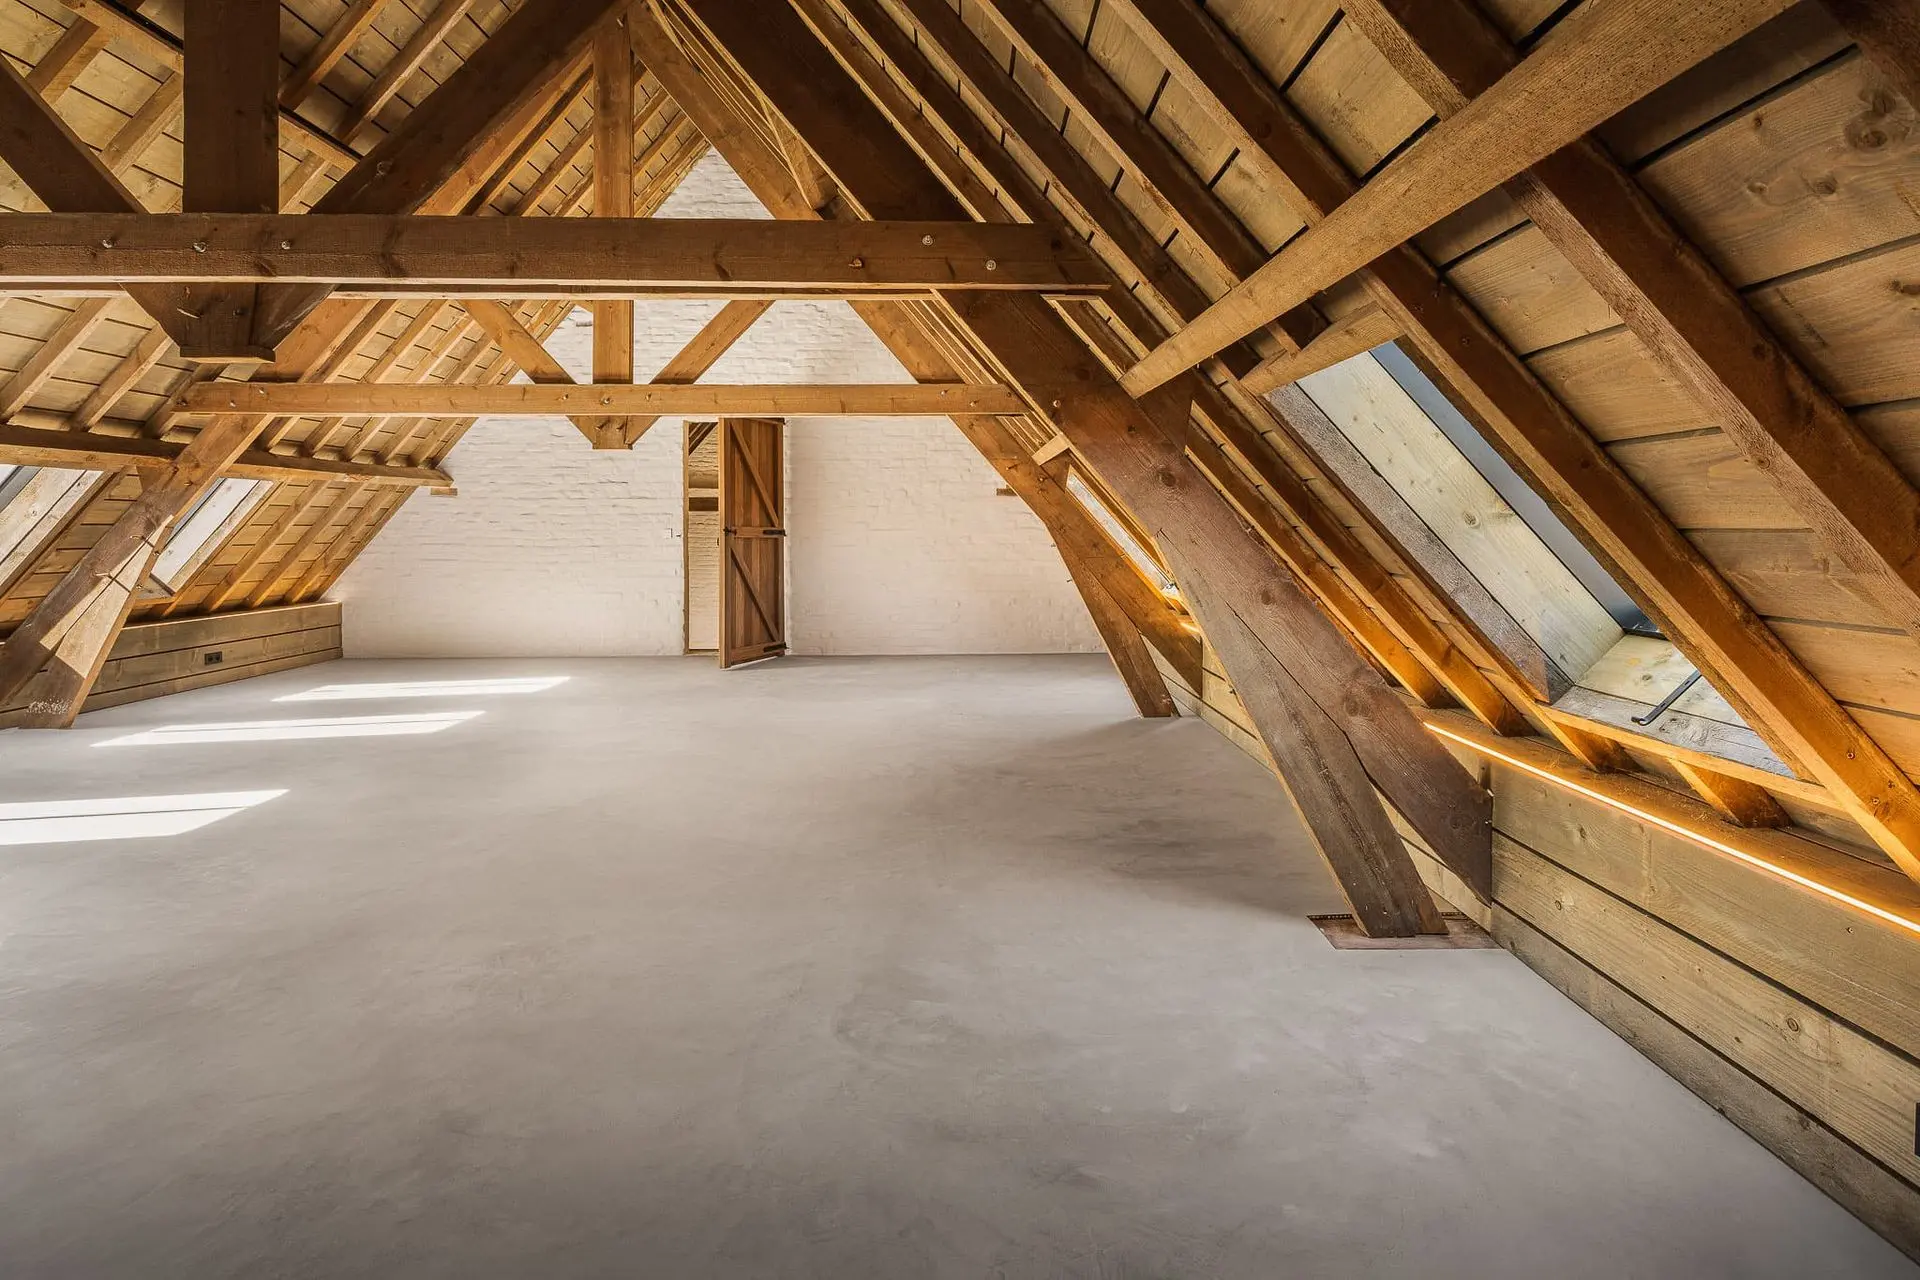
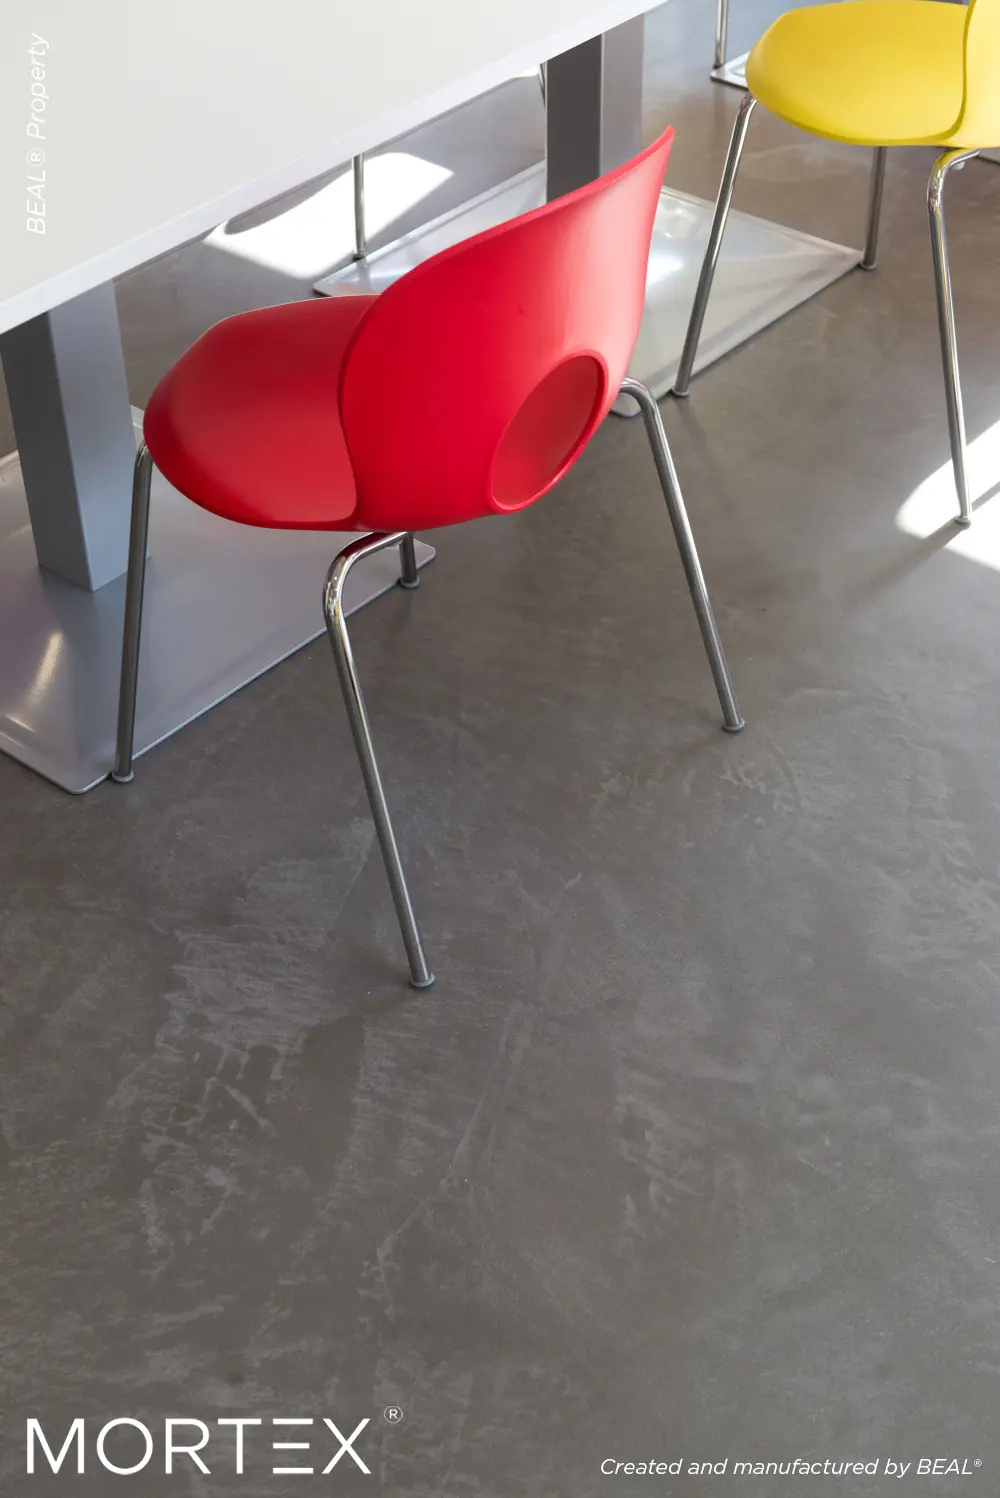
Floors and stairs

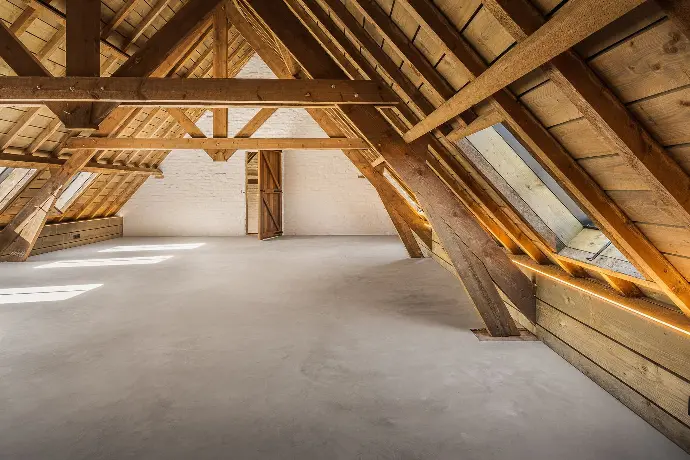
With MORTEX® multi-surface coatings, such as microcement or Tadelakt, anything is possible. Open up spaces with continuous surfaces, tastefully renovate rooms thanks to adjustable colours and a unique plaster, overcome technical constraints and get the result you want, both inside and out.
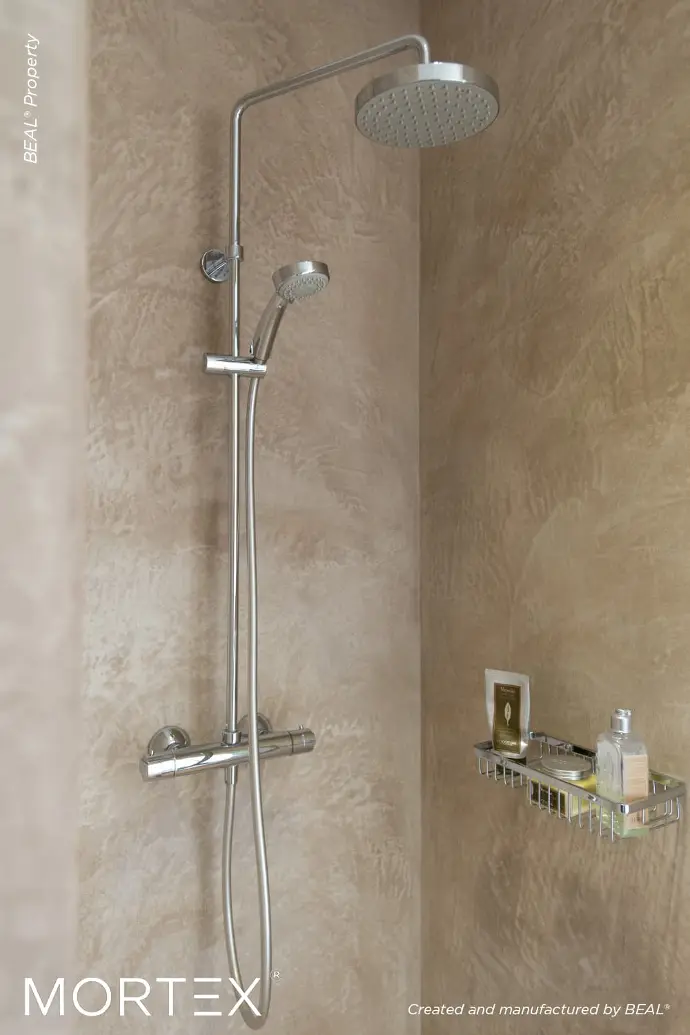
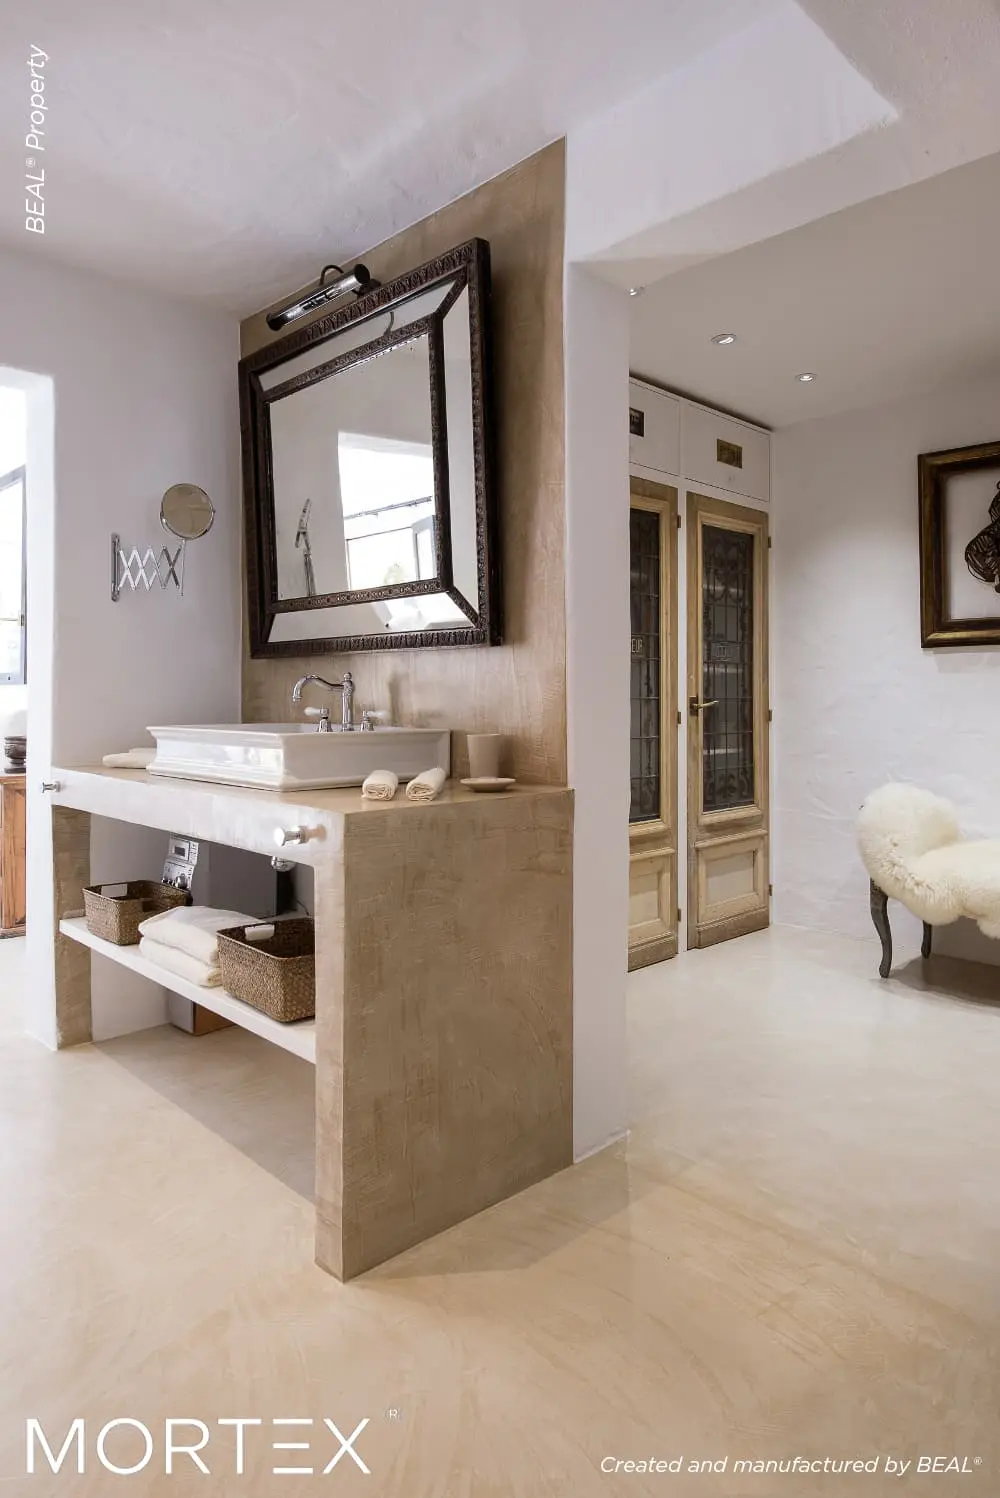
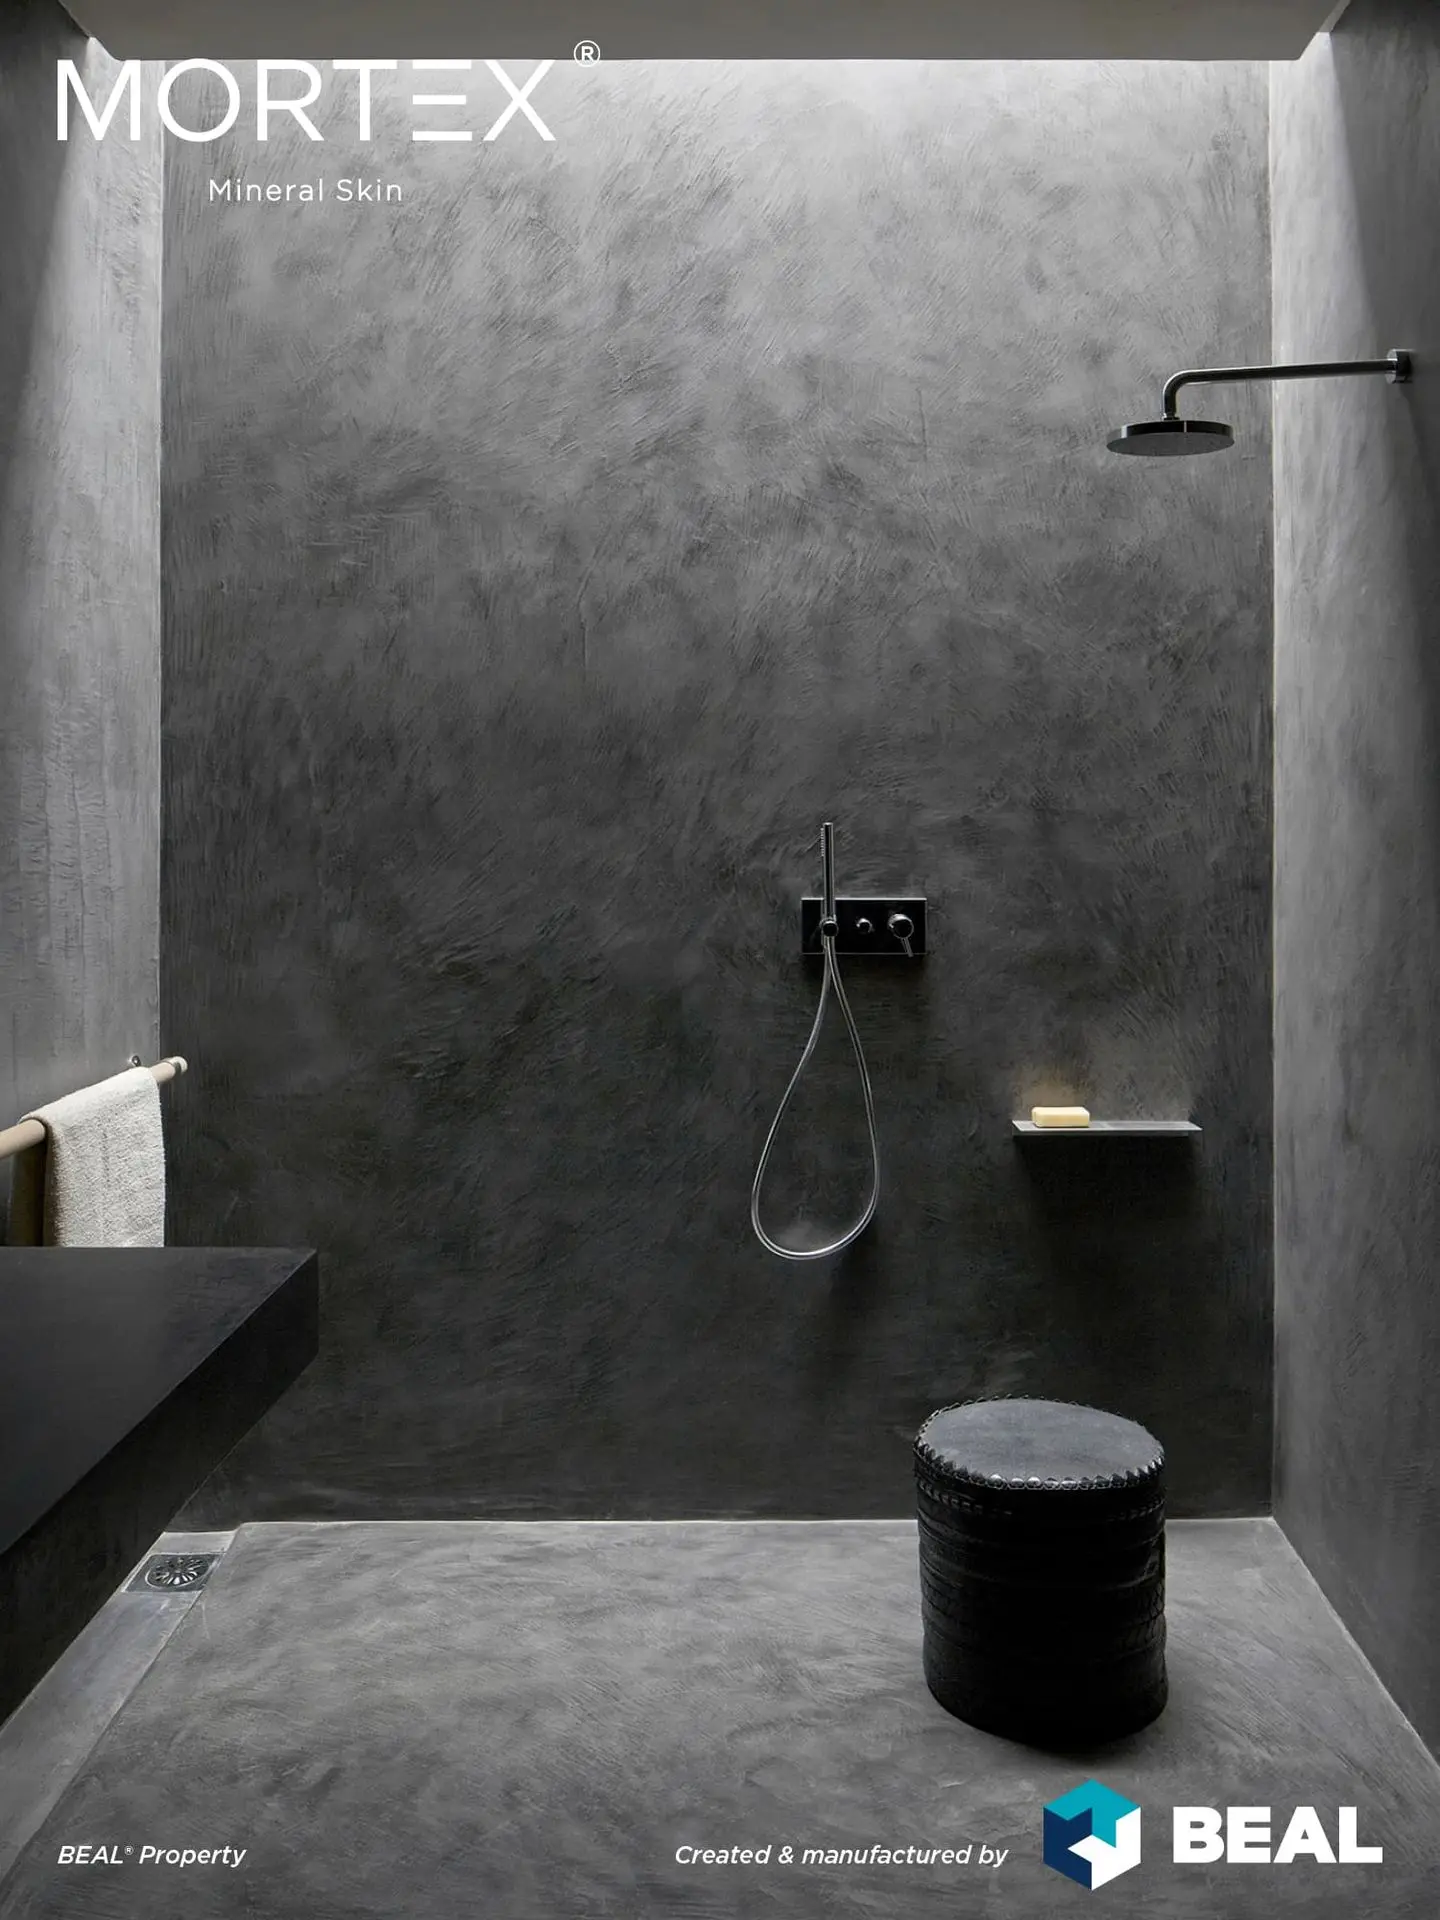
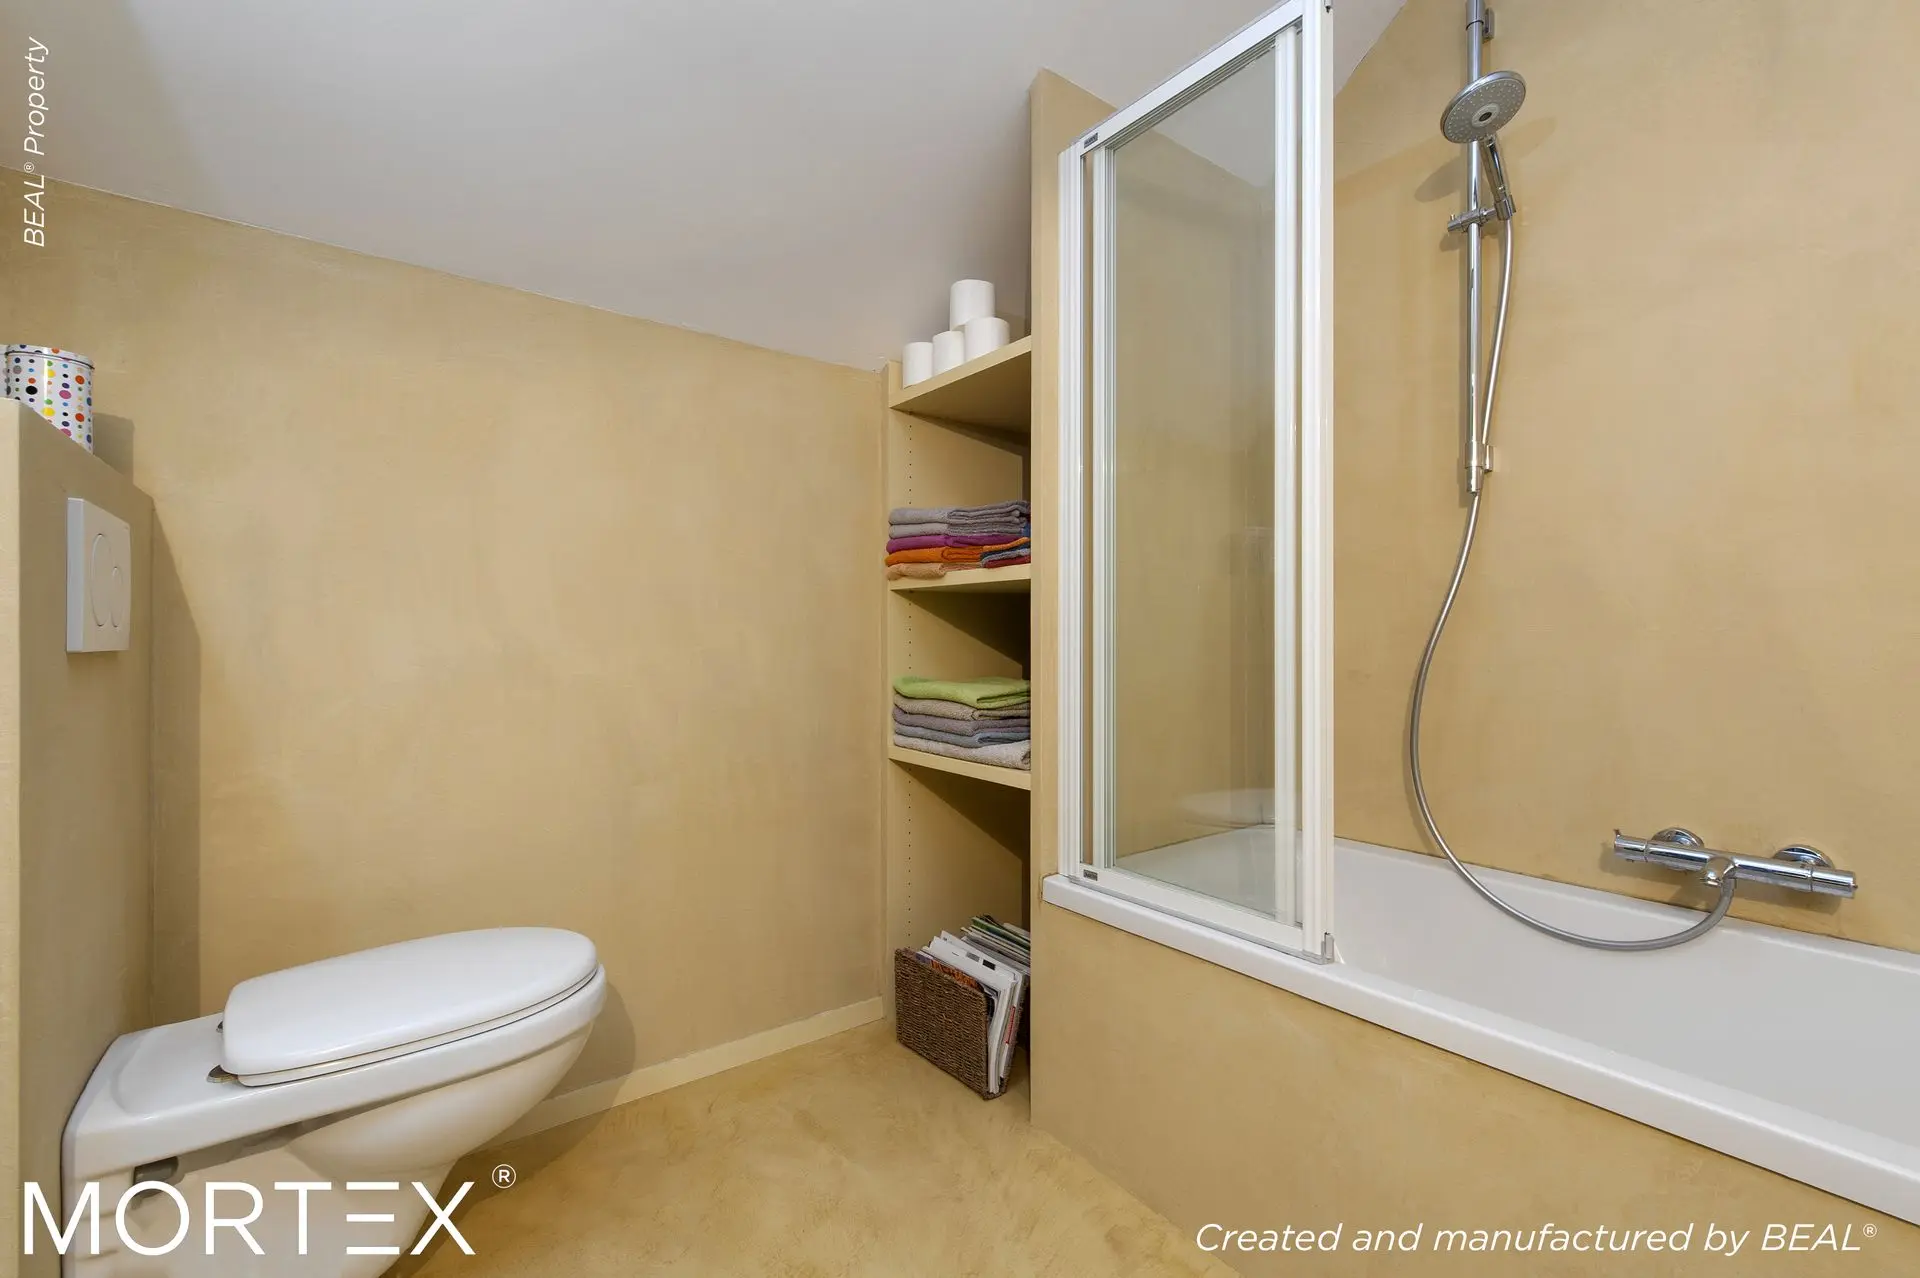
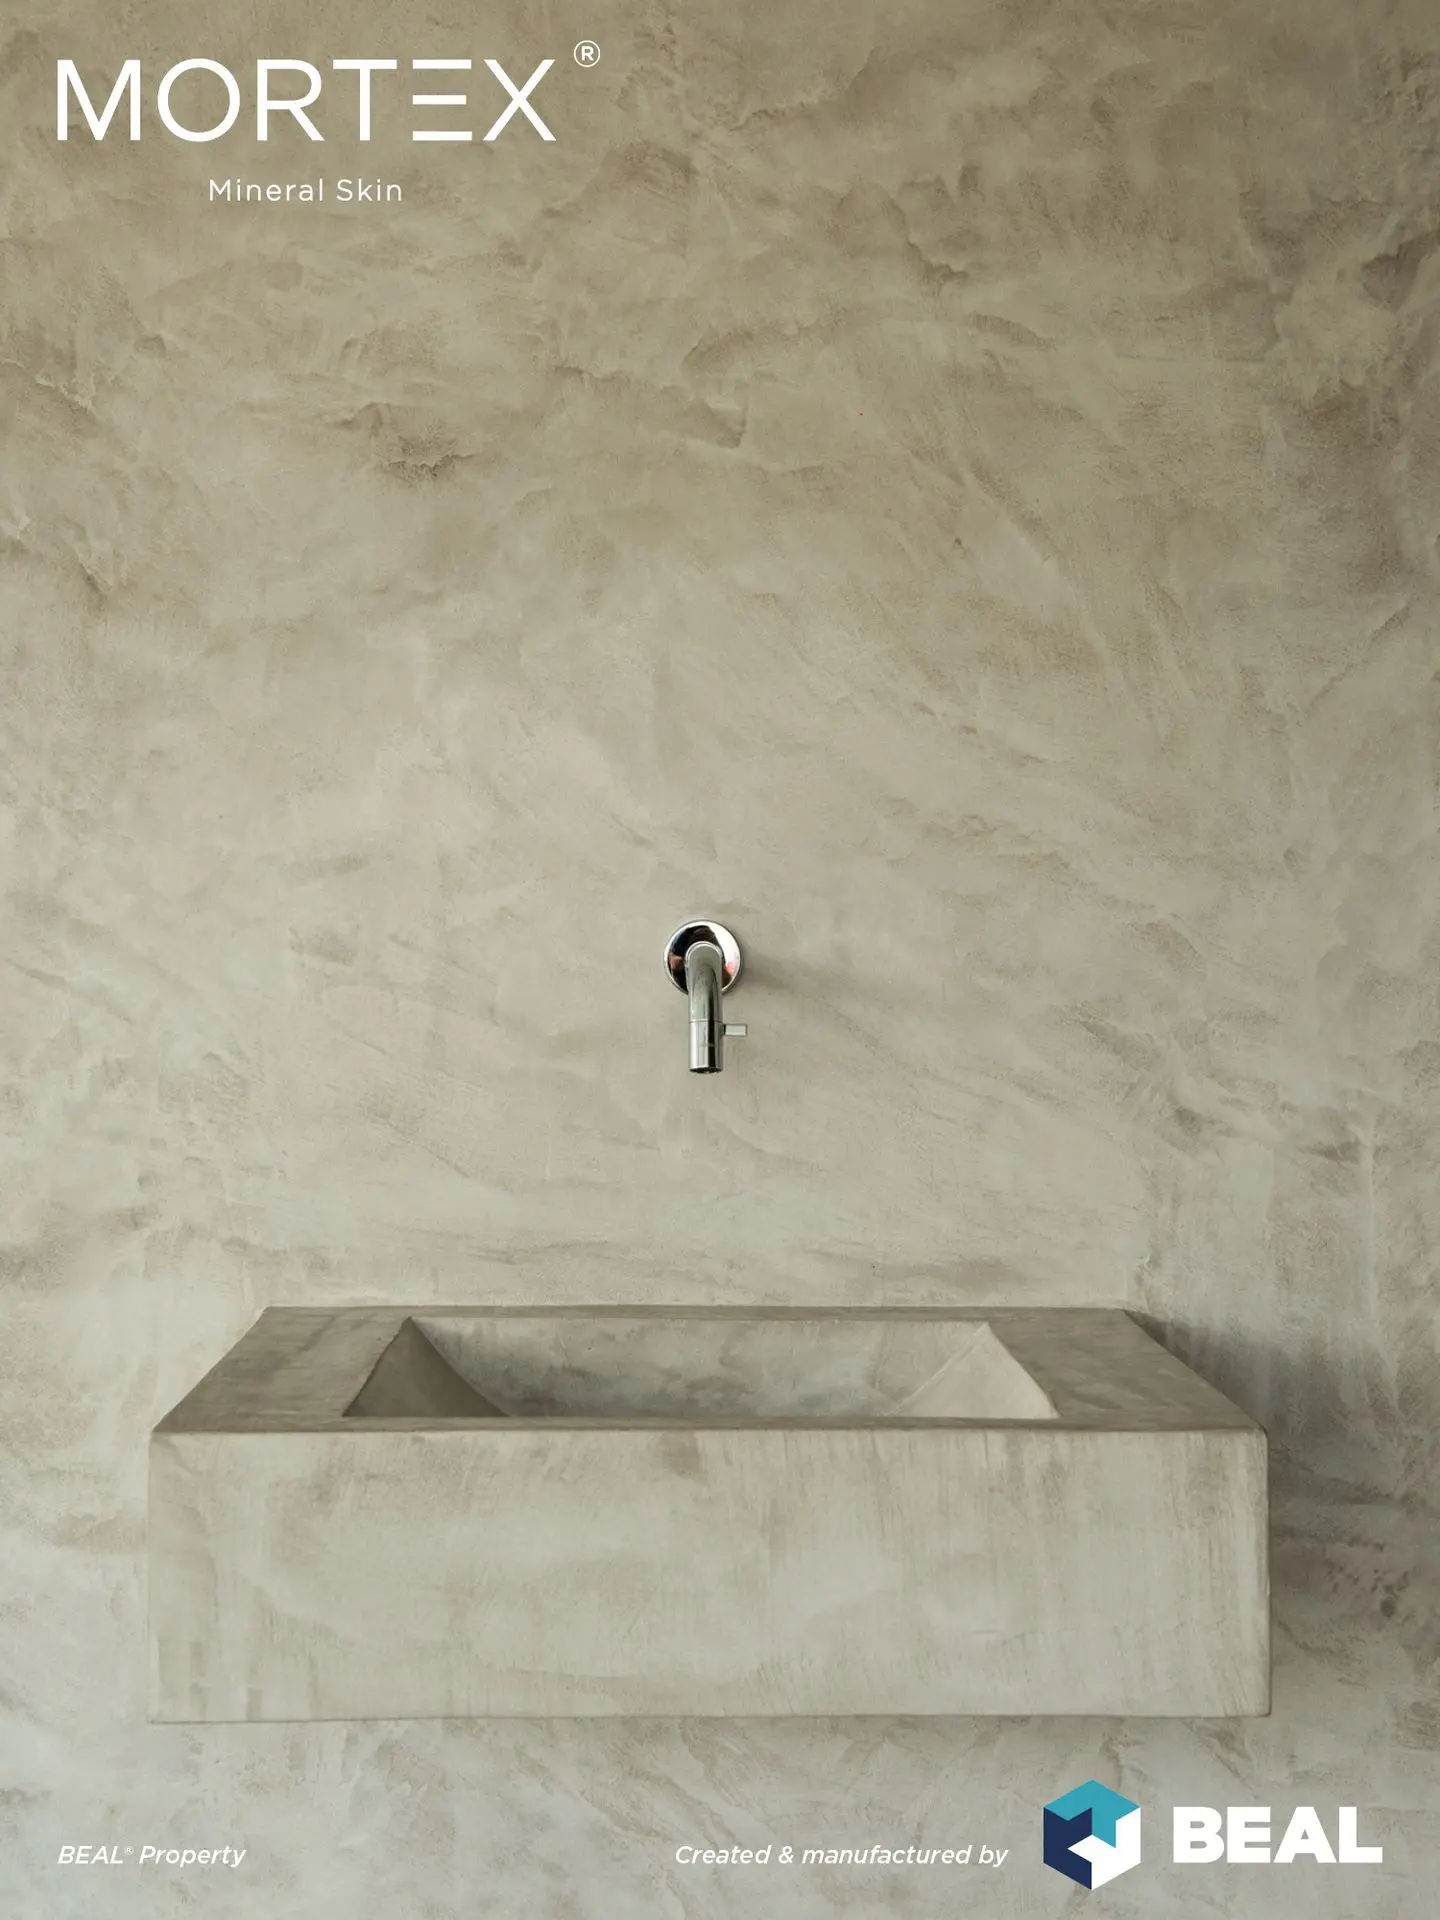
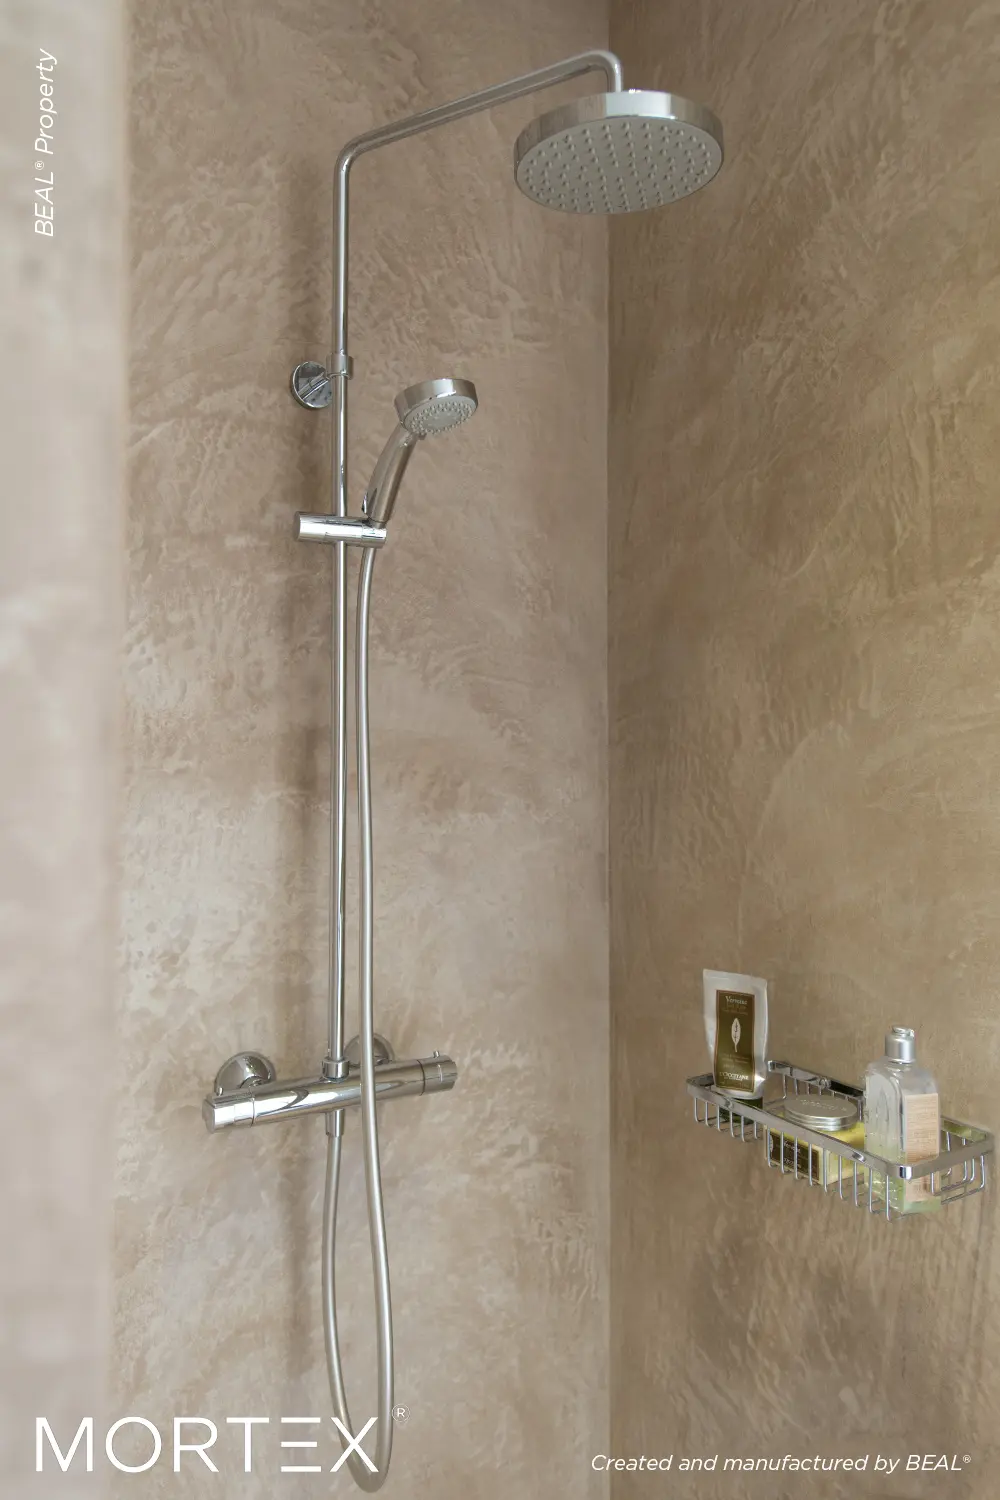
Bathroom and shower

Create the wellness area or bathroom of your dreams with seamless showers, bathtubs, steam baths and sinks with MORTEX® continuous coating. Its mineral aspect is pleasant to the touch and warm. Its "micro-cement" finish adds character to your sanitary fittings to create a modern and cosy atmosphere.
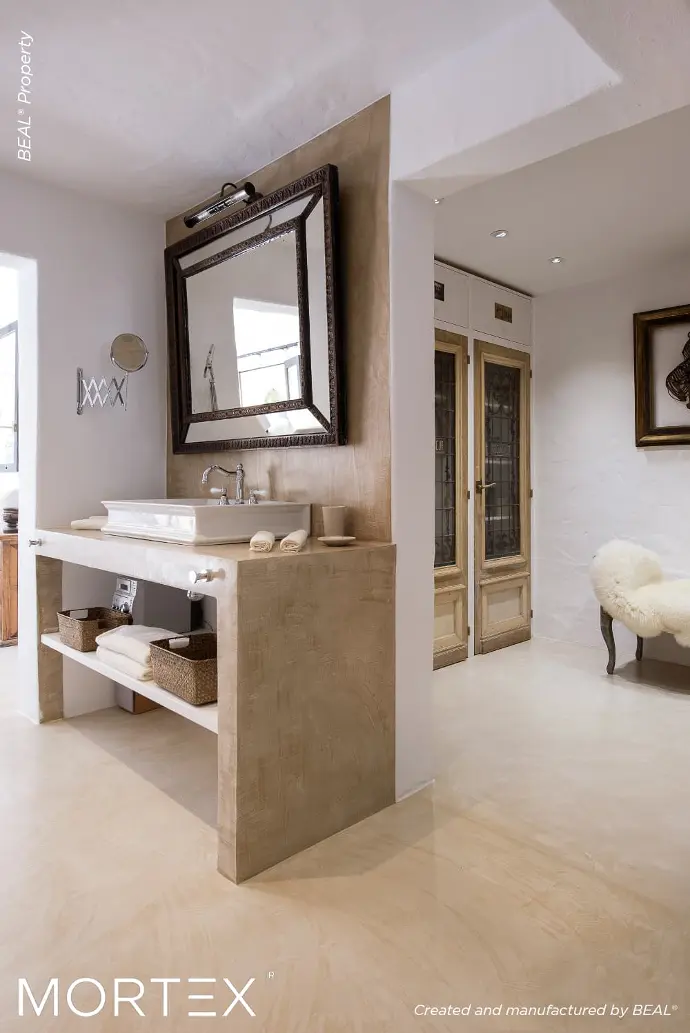
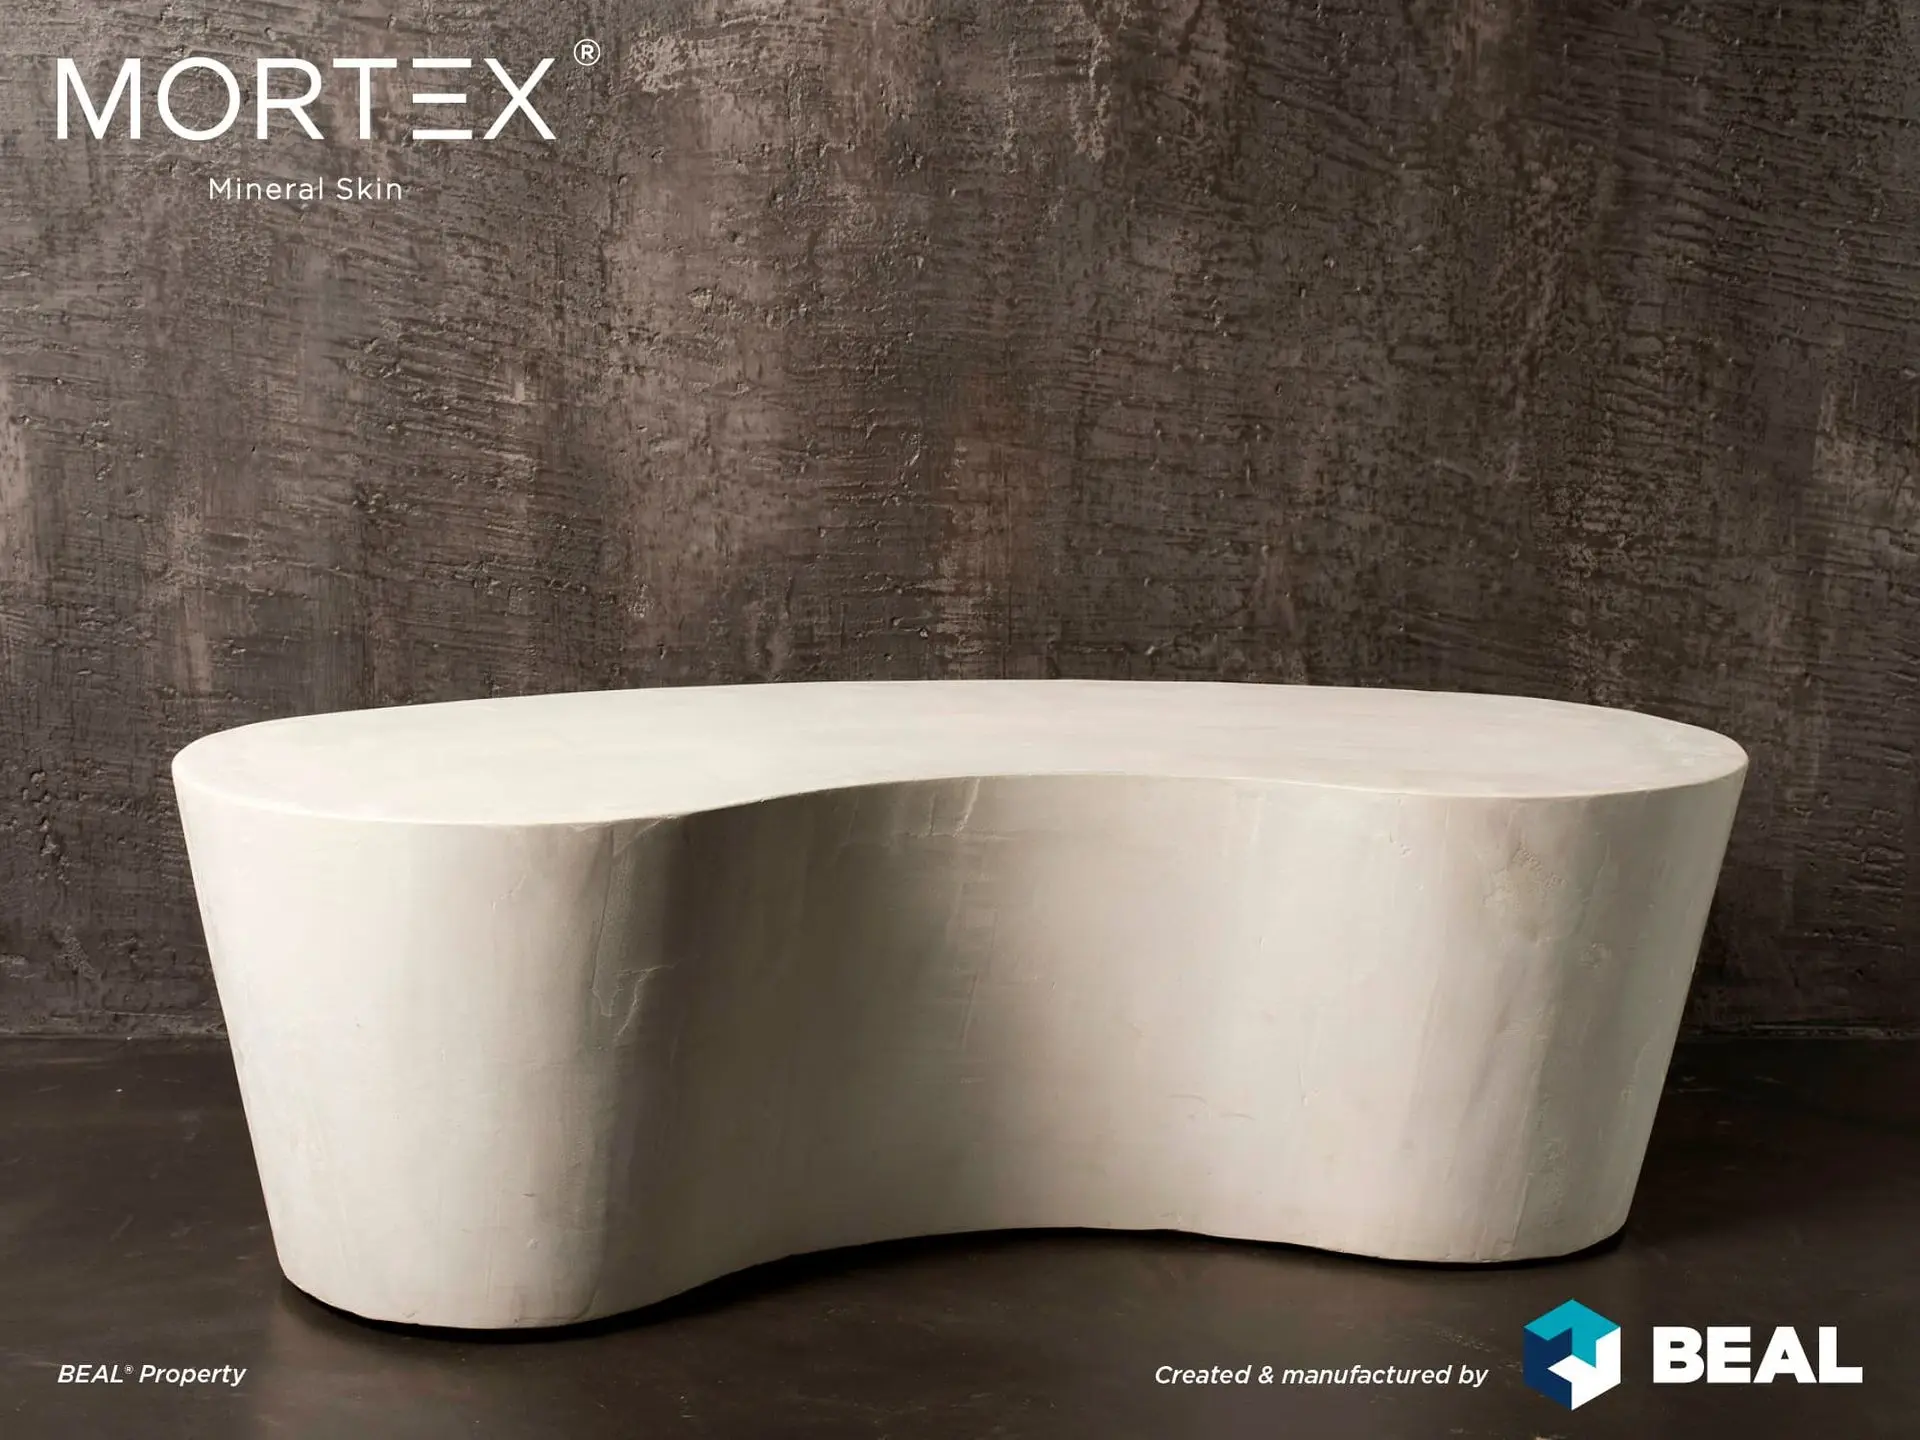
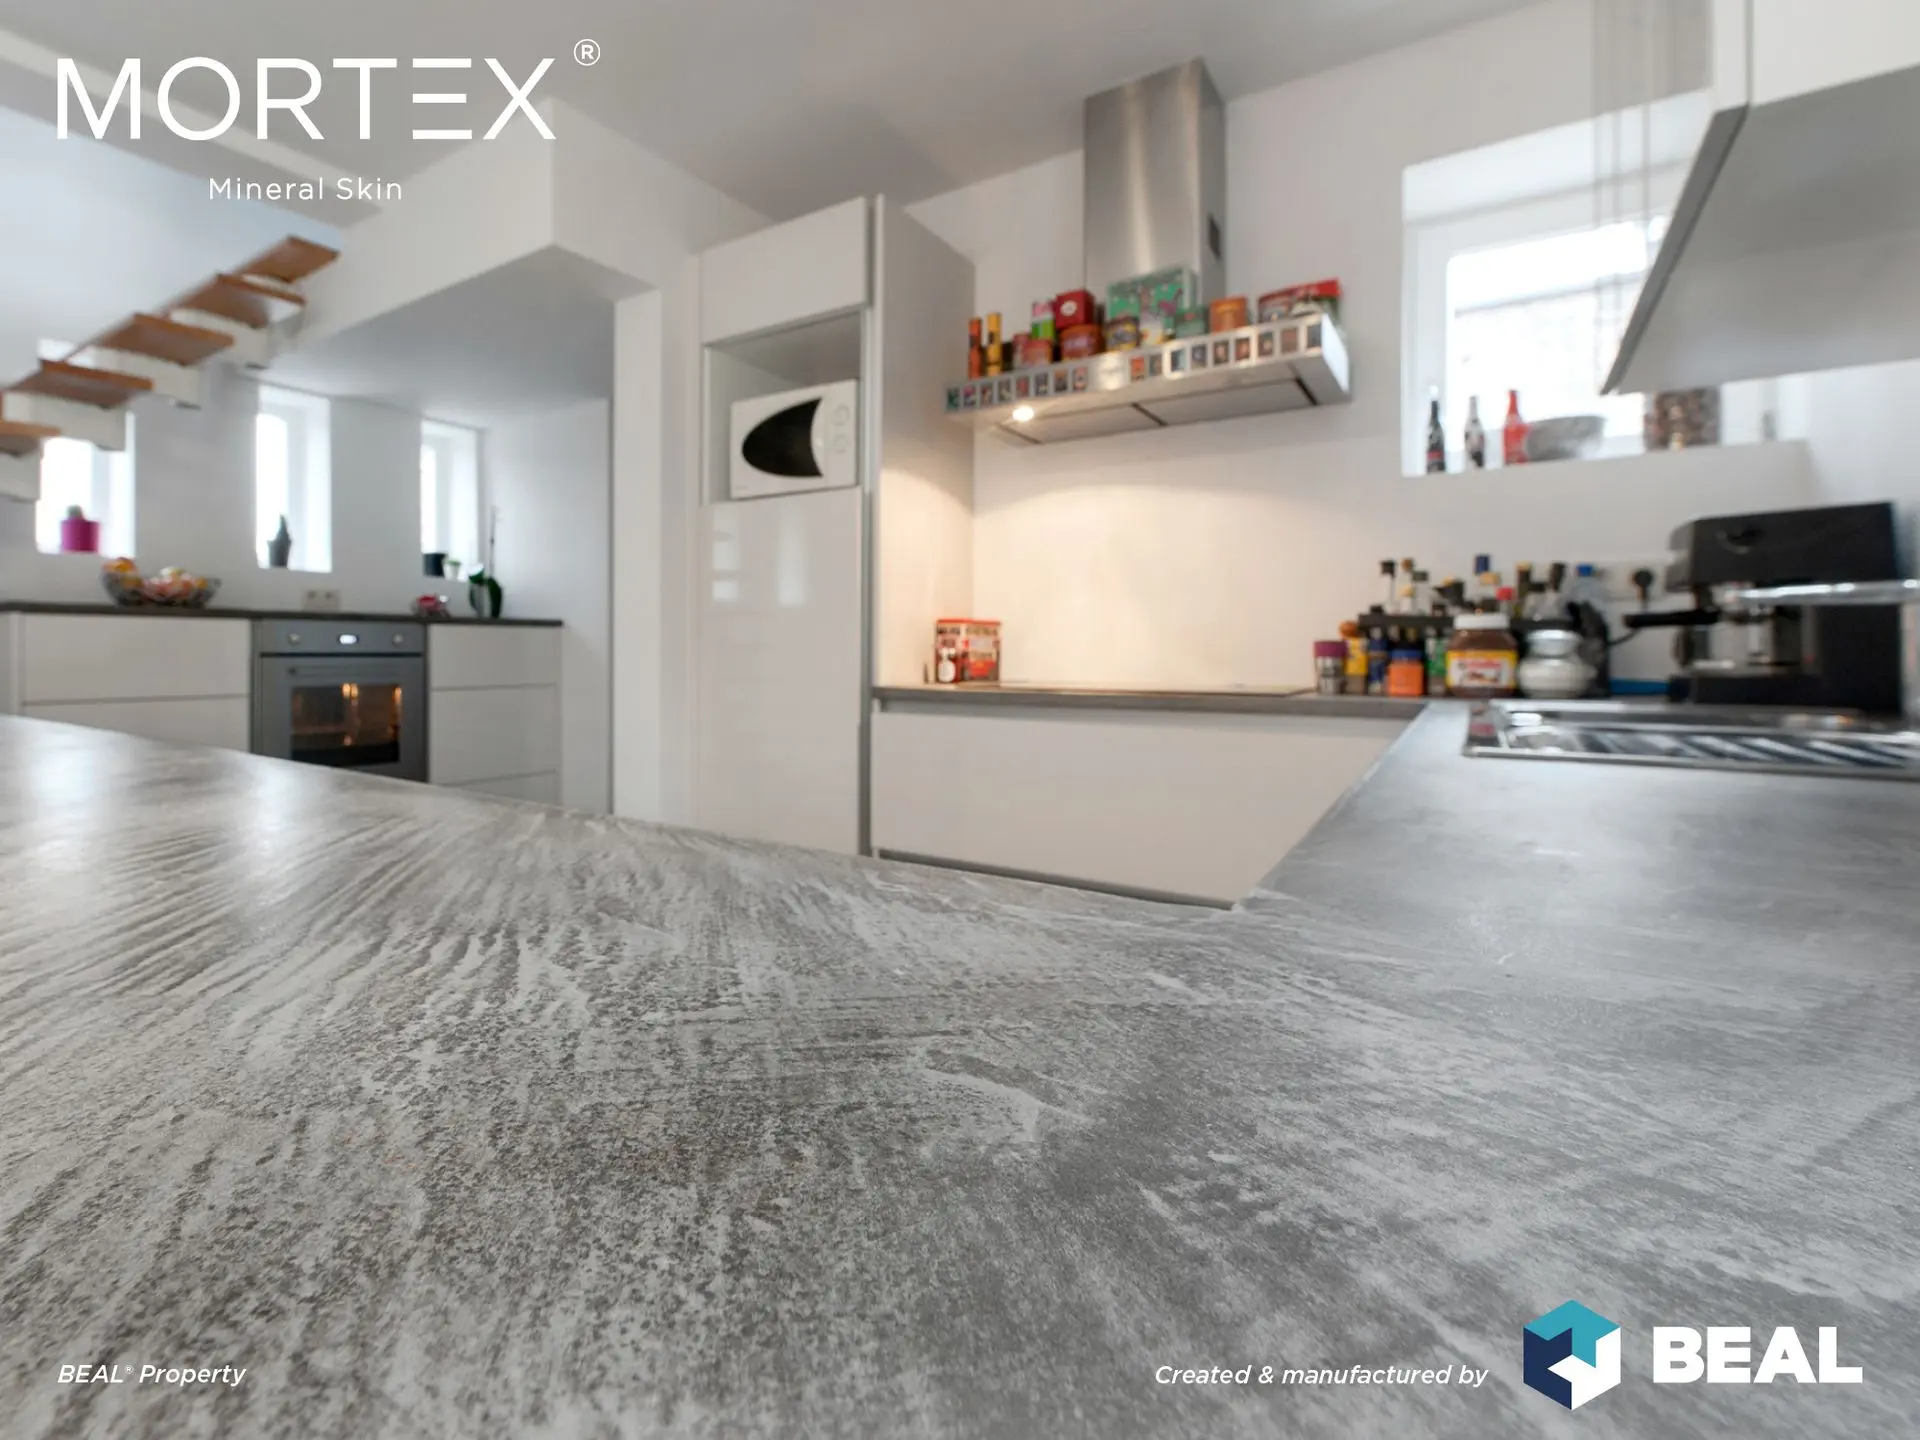
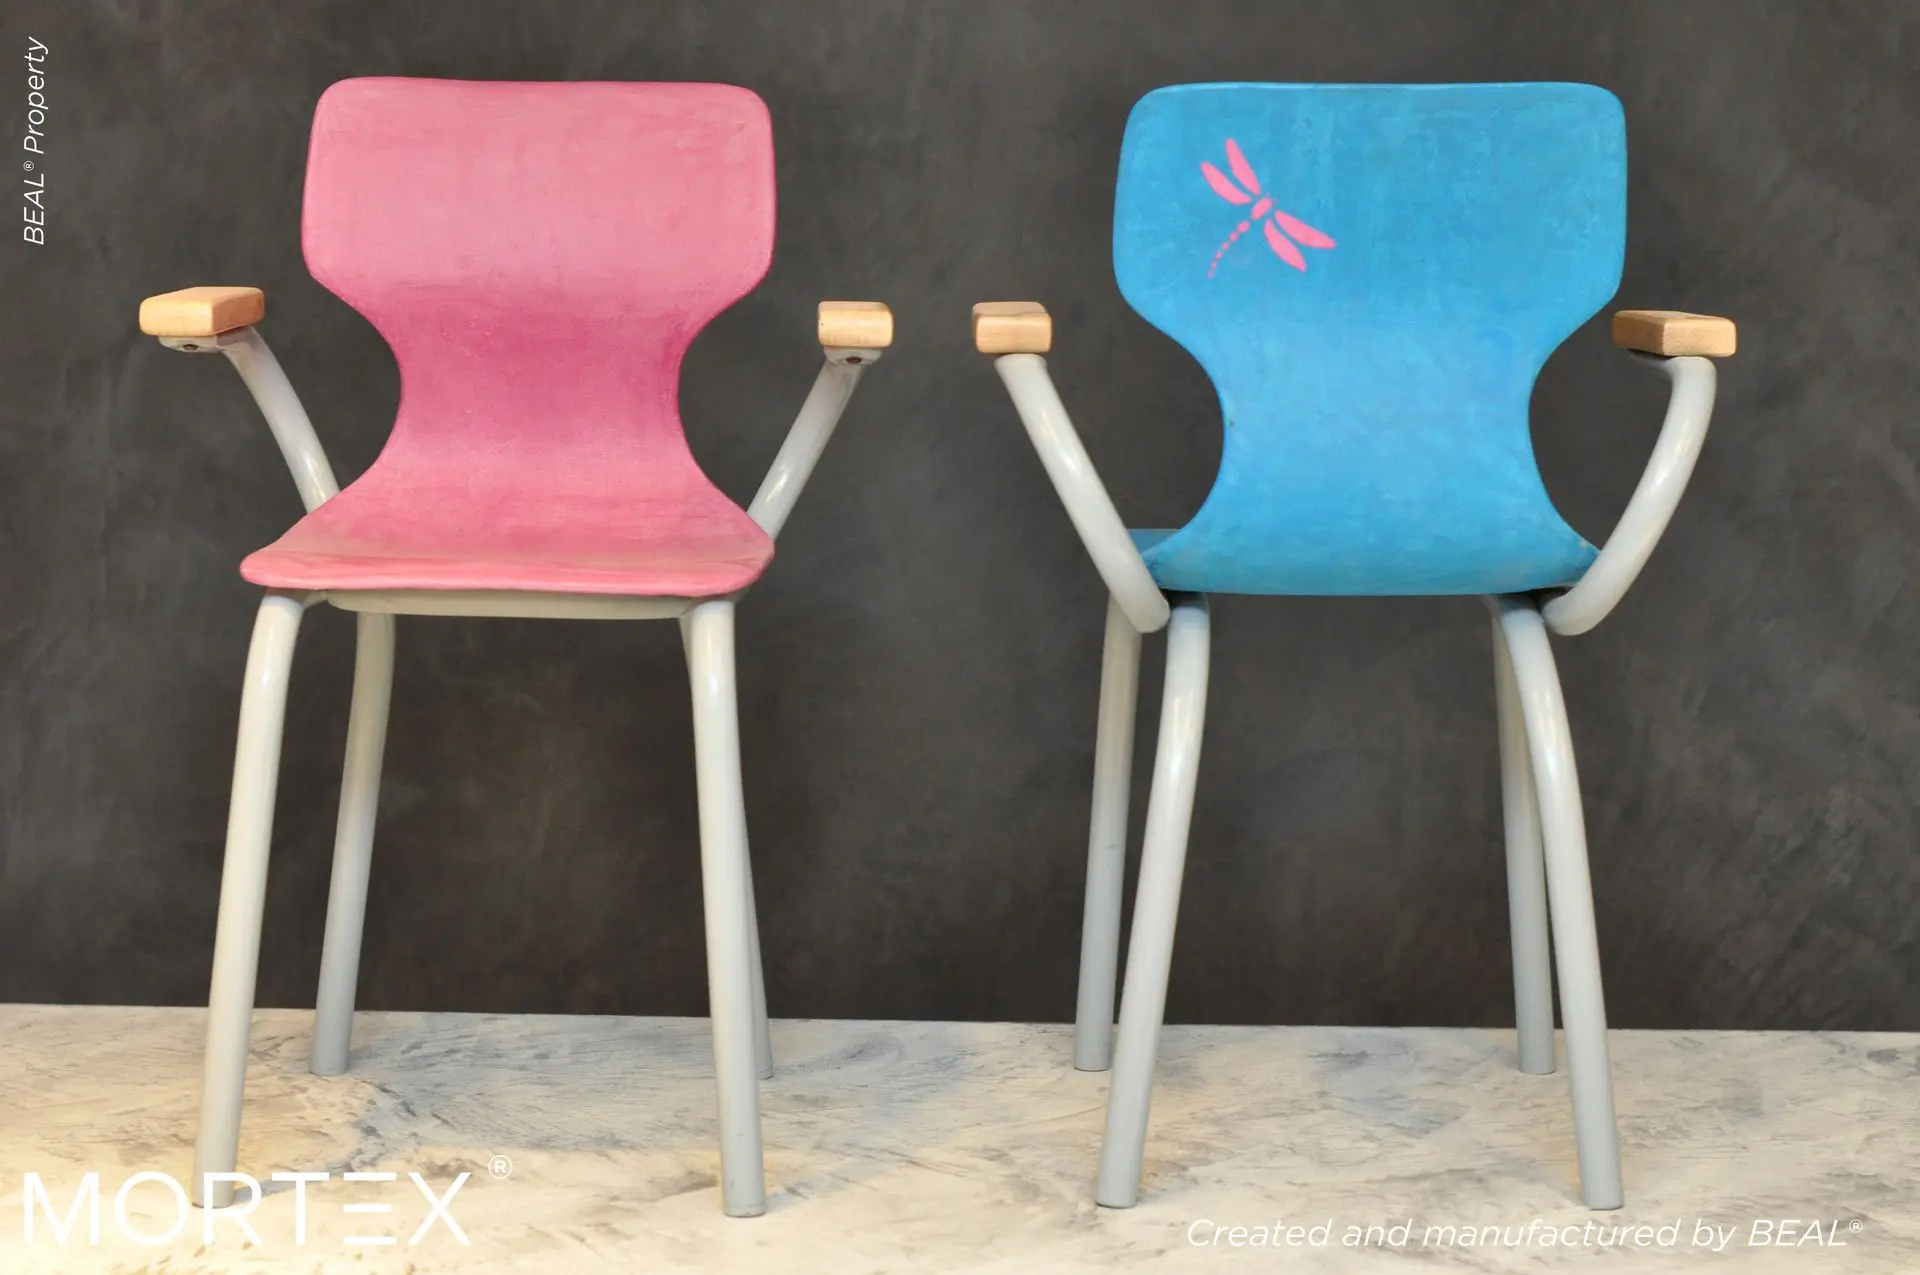
Furniture surfaces
Create customised furniture - tables, headboards, worktops, kitchen or bathroom tops - with MORTEX® coating in micro-cement or Tadelakt. Shape and texture, shade, finish, touch: everything is possible to make your spaces unique!

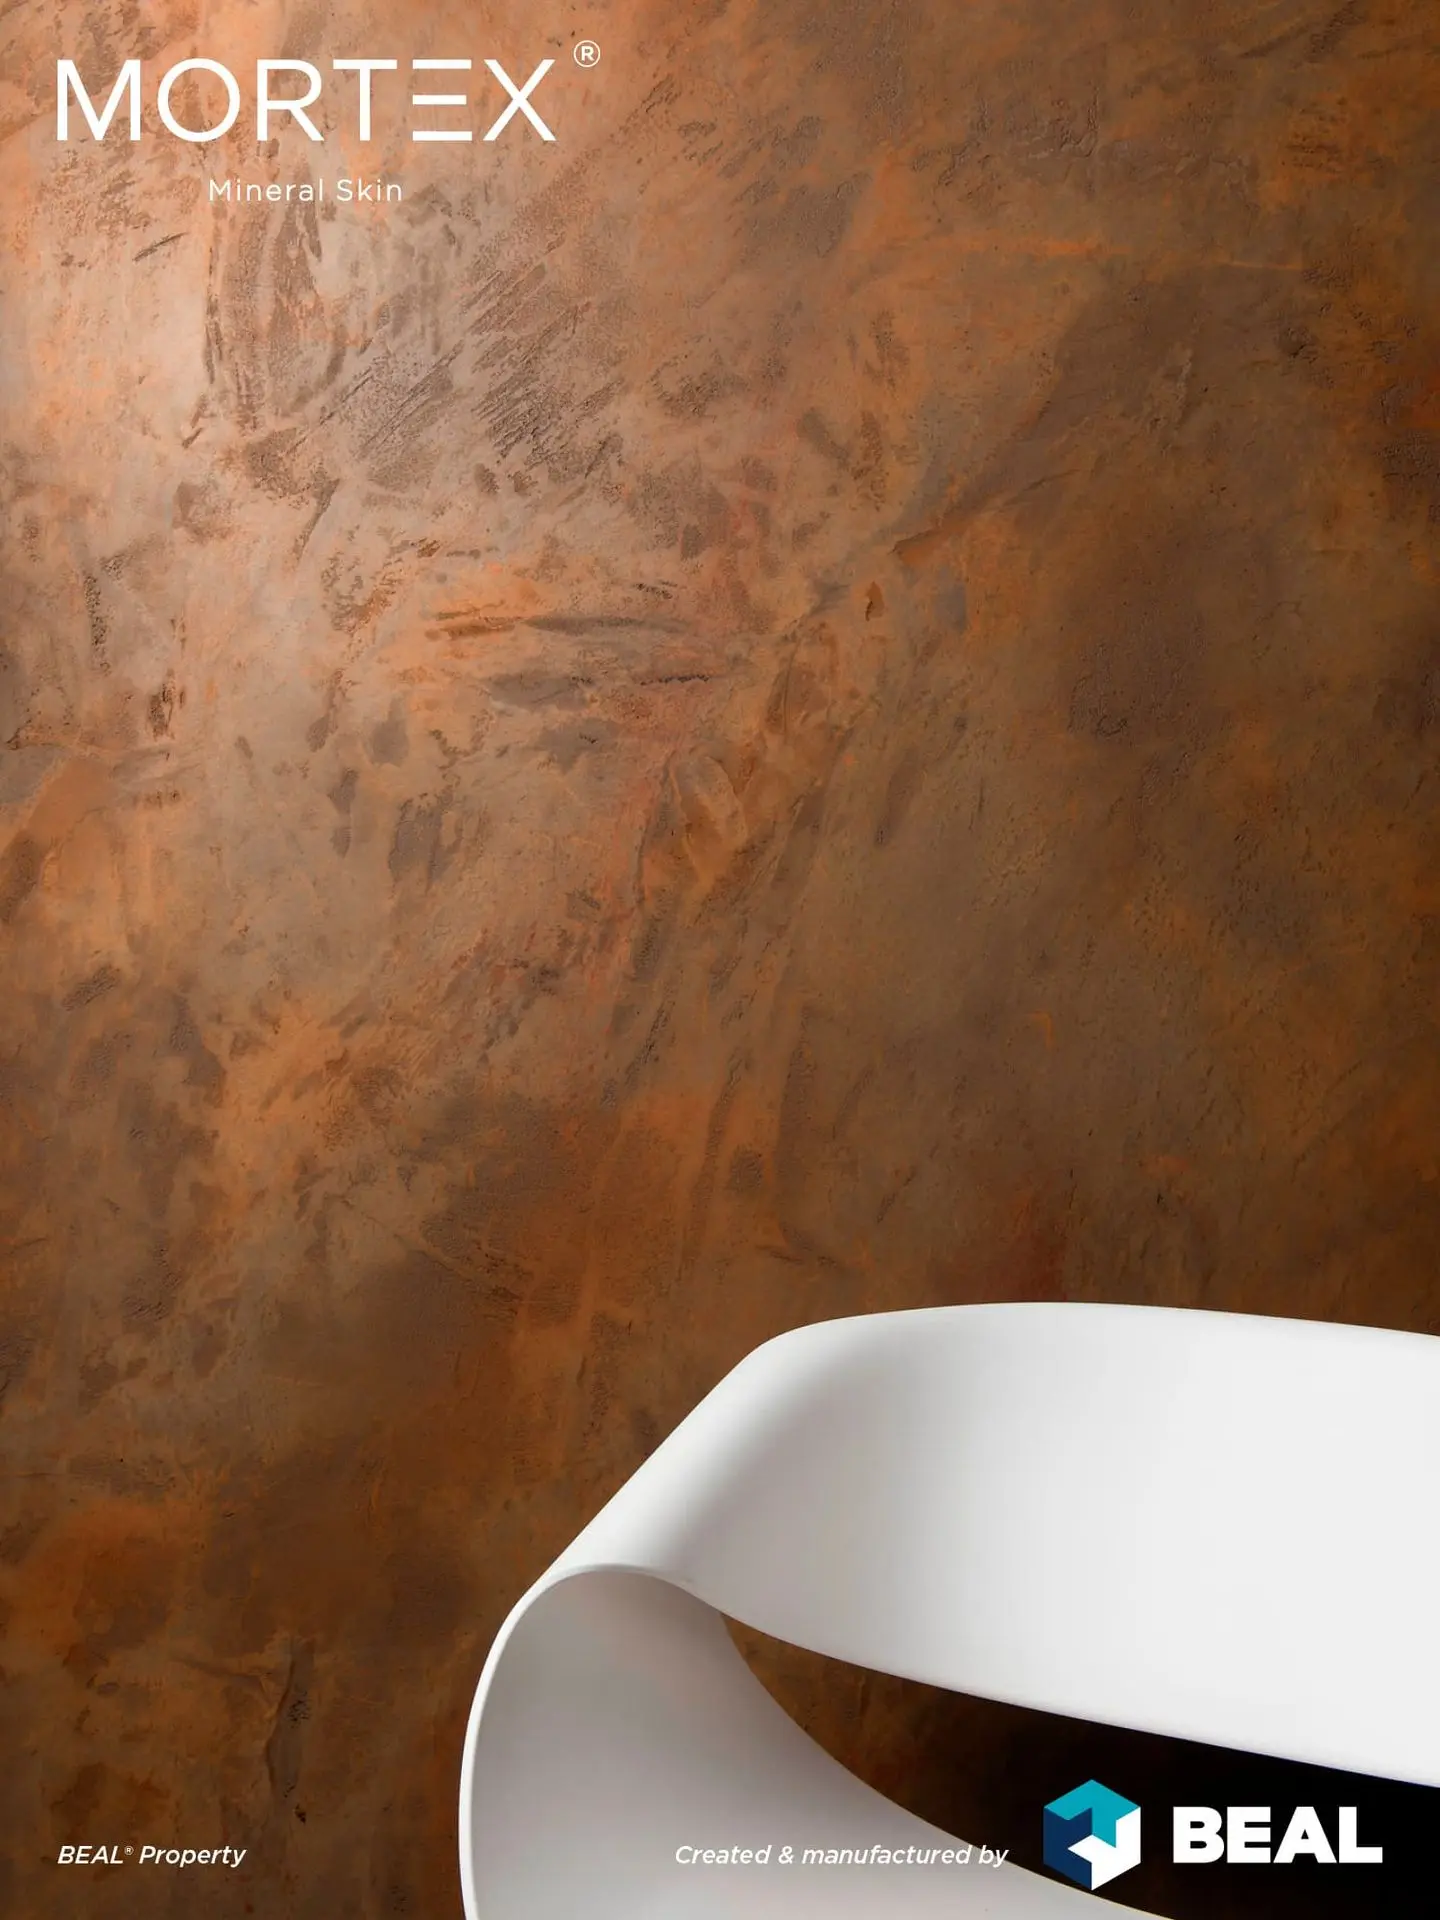
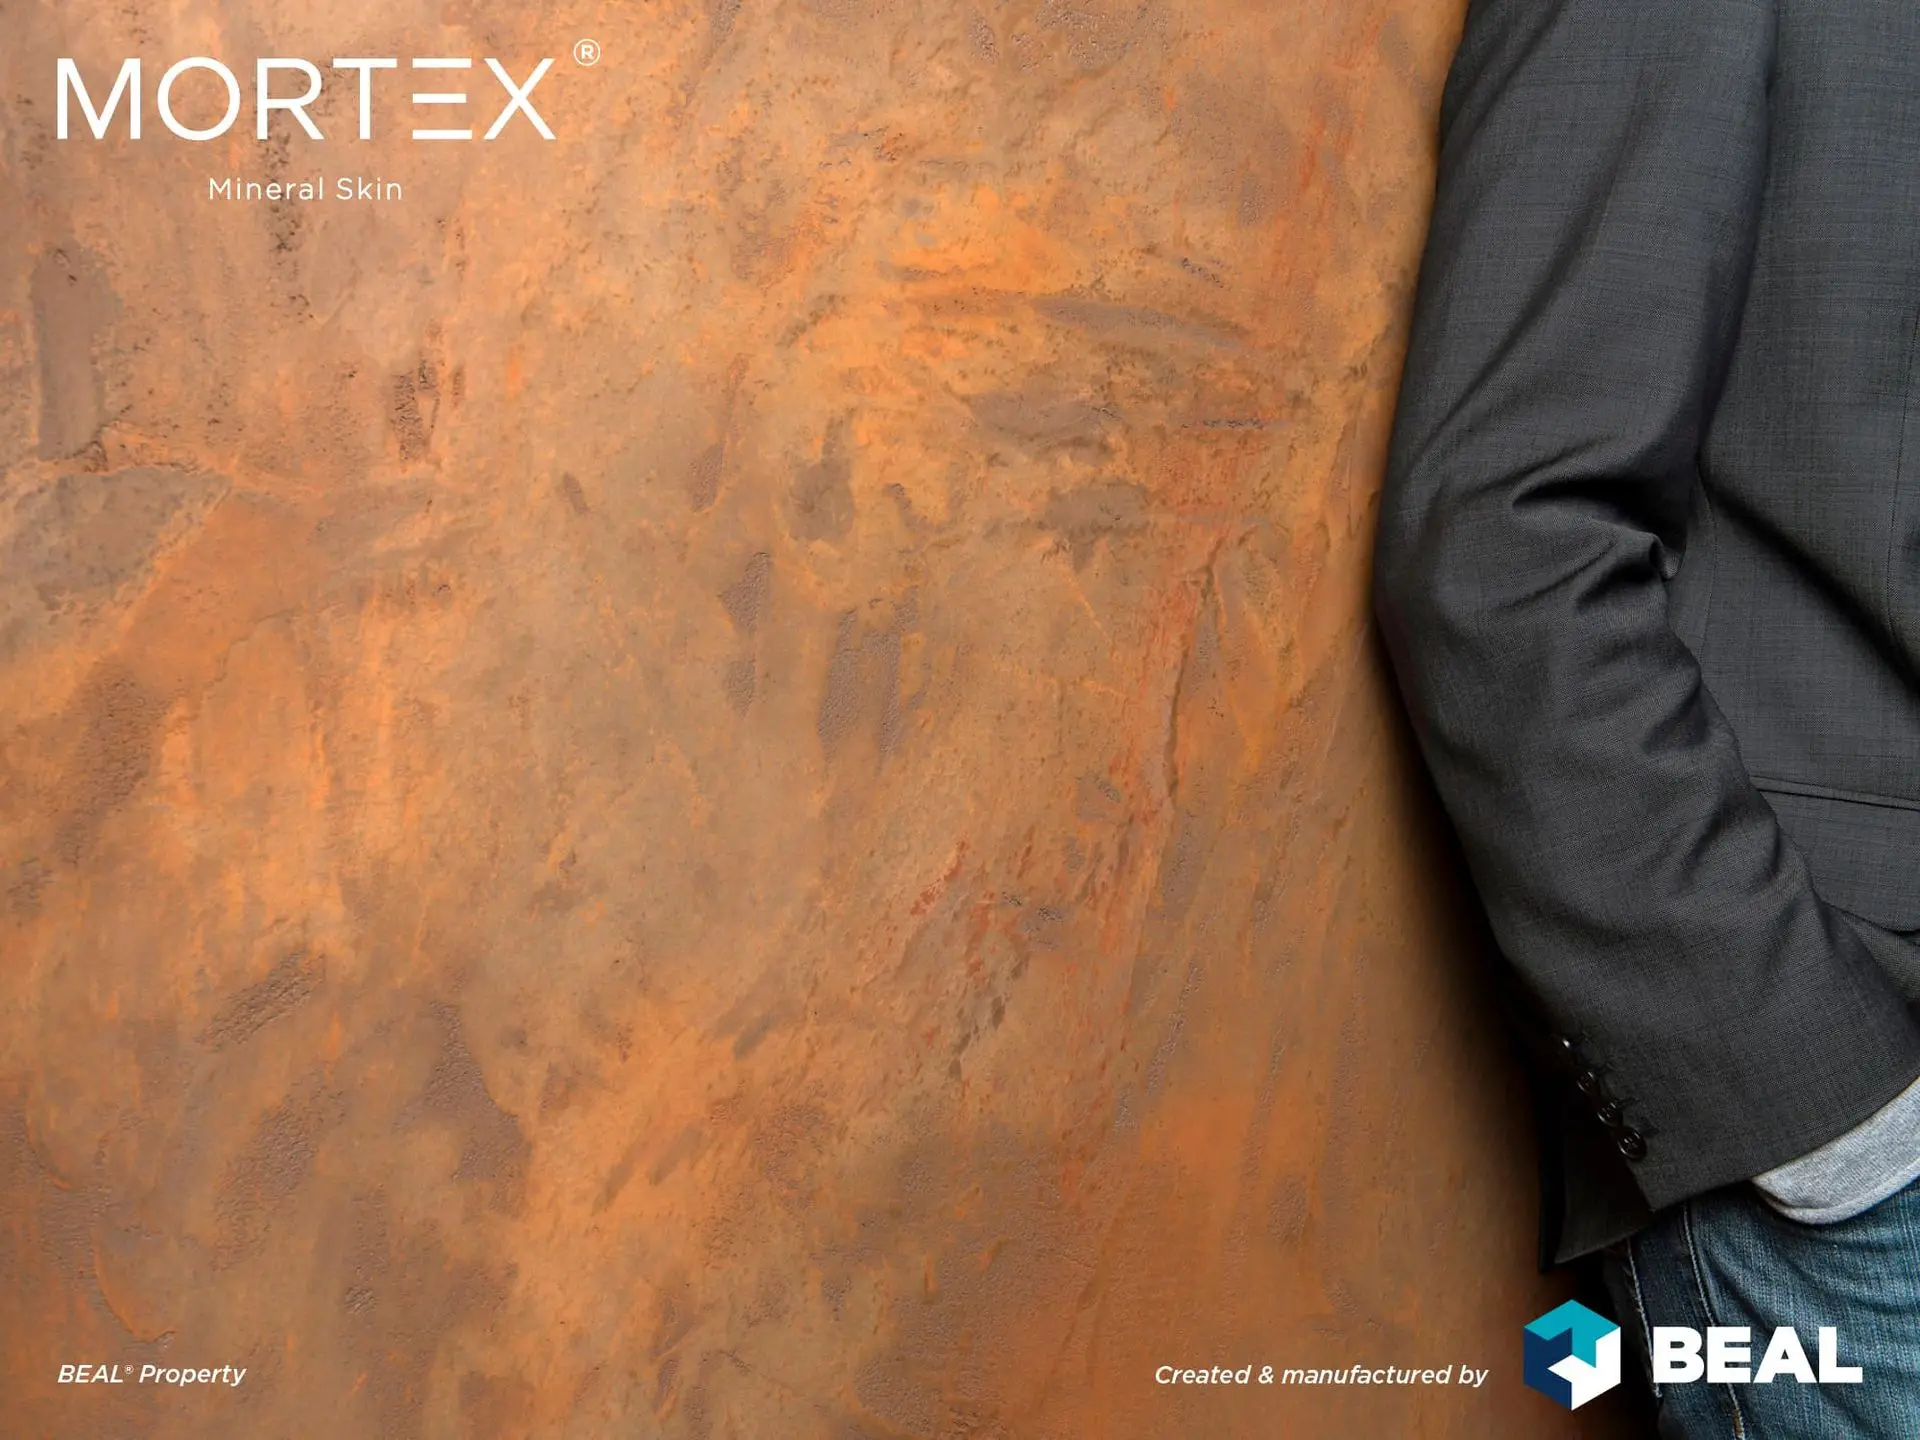
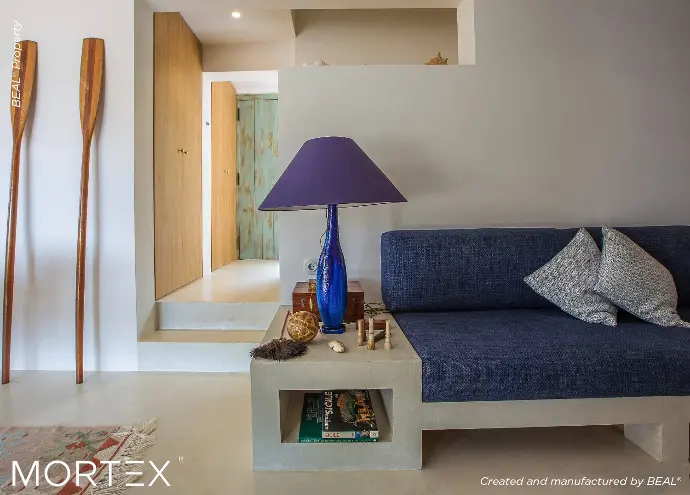
Walls and decorations
With MORTEX® multilayer coatings, such as Microcement or Tadelakt, give you the freedom to be creative in your building or decoration projects, with a variety of colours and effects (wood, stone, rust...). Your wall surfaces, ceilings and decorative works will take on the style of your dreams thanks to the five grain types and their rendering from rough to glossy.
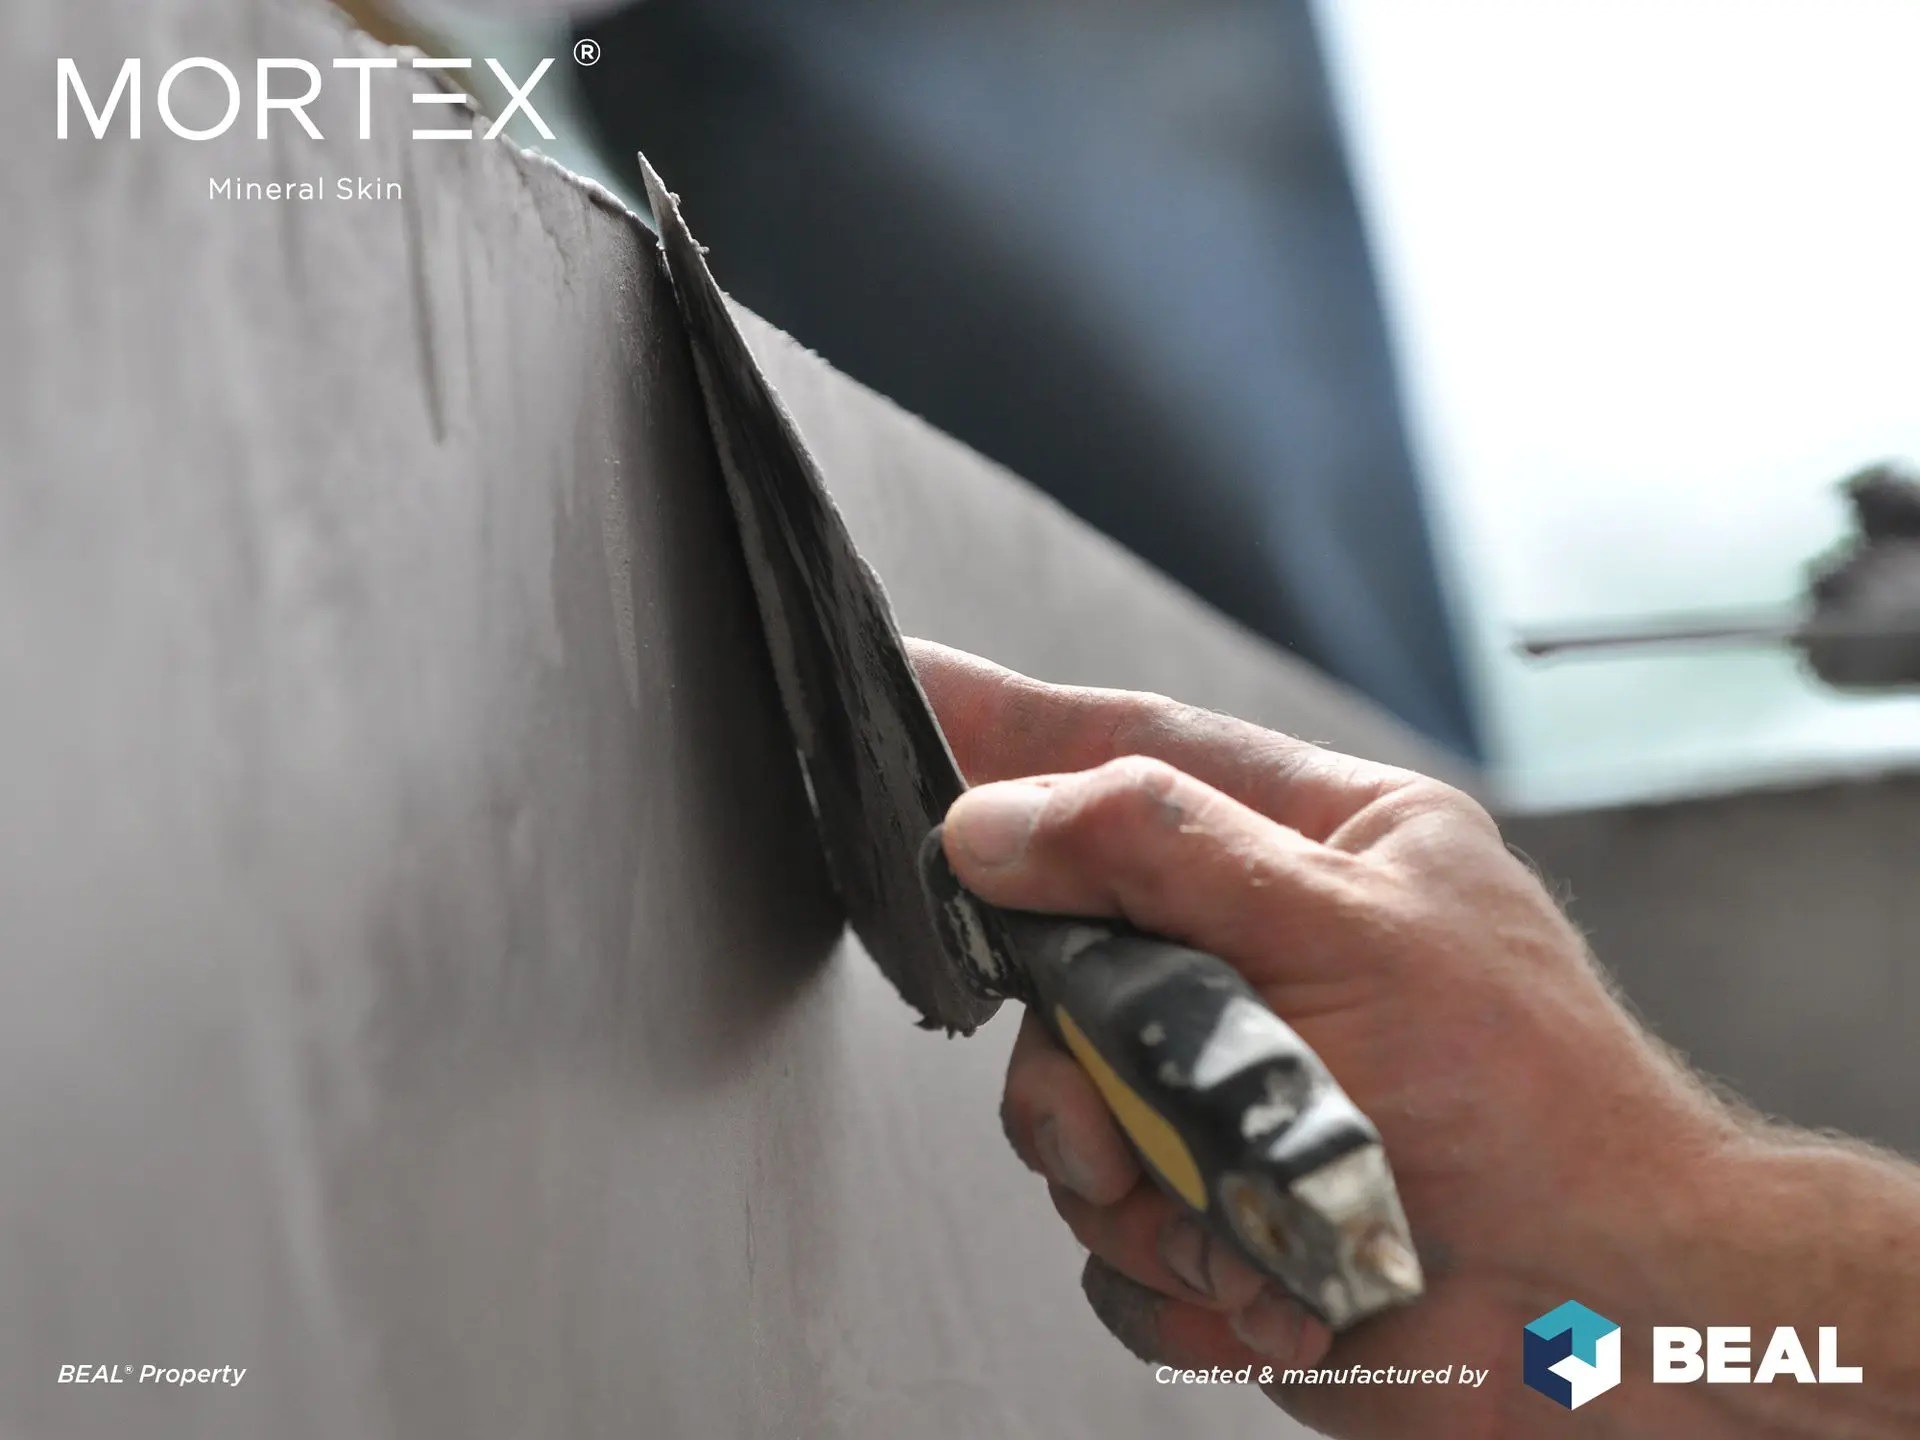
Build, renovate and decorate with MORTEX® microcement
Thanks to its resistance, flexibility, thinness and outstanding adhesion, MORTEX® coating offers a unique, neutral or coloured, micro-cement aspect to all your surfaces. It can be applied to floors, walls, furniture, showers or swimming pools and can be adapted to a wide range of technical constraints. If you want to avoid troublesome demolition work, MORTEX® can cover existing tiles. Want underfloor heating? It's possible!
MORTEX® microcement - the technical and aesthetic solution
MORTEX® coatings offer unique technical solutions. For more than 30 years, it has been one of the favourite products among architects and decorators who love the micro-cement effect. Trade magazines and design personalities recommend MORTEX® for creating seamless surfaces and elegant, modern spaces.
With MORTEX®, give freedom to your Creativity
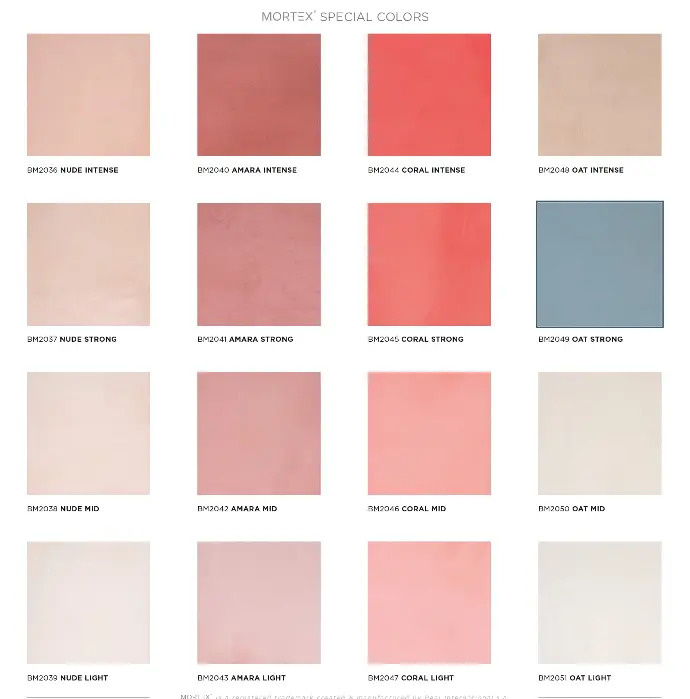
Colours, shades, shapes, textures, effects... Anything is possible! Thanks to its neutral substrate, which can be coloured with pigments in the mass, and its different application methods, MORTEX® coloured microcement allows for endless possibilities for the creation of bathrooms, floors, living rooms and exteriors. Get the result you've been dreaming of.

The unrivalled benefits of MORTEX® microcement

Sealability
MORTEX® multi-surface coating is ideal for all projects in contact with water because of its waterproof mass. Italian-style showers, bathtubs, hammams, ponds or even swimming pools are brought to life anew thanks to the neutral or coloured "micro-cement" look.

Adhesion
Thanks to its outstanding adhesion, MORTEX® "microcement" surface coating adapts to your interior and can be used on a wide range of surfaces and substrates (mineral, tiles, MDF).

Selection
The neutral MORTEX® "microcement" type coating base is a pigmented mass which provides a wide range of colour and rendering possibilities.

Ecological importance
MORTEX® is made in Belgium and contains 95% natural ingredients sourced in Europe. Its formula is neutral, allowing the craftsman to colour it directly on the spot, which makes it more environmentally friendly to transport and avoids product loss.

Resistance
The MORTEX® coating provides unparalleled surface resistance. Thanks to this high resistance to crushing and abrasion, you can enjoy your coatings for a long time.

Thin layer
Thanks to its thin layers, MORTEX® multilayer coating offers high satisfaction on the job site, making it a very important renovation tool. When applied in thin layers, it allows for low product consumption and a wide range of finishes can be made according to the chosen application technique.

Flexibility
MORTEX® microcement coating is characterised by its smoothness and adaptability to the flexibility of conventional building materials.
Mineral
MORTEX® coating stands out from all other microcement solutions on the market because of its unique properties. Its base is neutral in colour (off-white) and is made of 97% minerals. Its texture ensures a natural, warm and high quality result.
MORTEX Color Chart Specials 2024.PDF
MORTEX 2024 brochure of exclusive colours and shades.
Download FAQ
Many baths have been successfully completed,
However, for various reasons, we do not recommend this type of construction.
Yes, under the following conditions:
- The mineral substrate (concrete block, coarse concrete walls) or the cementitious material must be in perfect condition, clean, sound and not cracked.
- If it is leaking, it is likely to fail due to ageing or cracks caused by movement.
- If it's just a problem with cracks, filling them with our product may be enough MORTEX RAPID +.
- It is also important to know the hardness of the water.
The following precautions may be appropriate MORTEX COLOR 2-N product. Apply in three 1-1,5 mm thick, brush-on cross layers.
Be careful that the groove left by the brush is at least 1 mm thick.
Your reservoir (swimming pool, garden pond) must be made of concrete or cement blocks. It must be clean and healthy. The structure must be stable so that no cracks appear.
The product can be used for ponds with freshwater ornamental fish.
Attention: MORTEX COLOR 2-N The product has not been tested for "drinking water".
Beal International S.A. is the only manufacturer of the MORTEX® product range to have registered this name. We advise you to beware of imitations and counterfeits as they do not meet the same quality requirements.
BEAL INTERNATIONAL products, especially MORTEX®, BEALSTONE® and CAPILASIL®, are protected products. They meet strict quality requirements, the results of which BEAL INTERNATIONAL is committed to guaranteeing. BEAL INTERNATIONAL is the sole manufacturer of its products.
The products are distributed in Lithuania by BEAL INTERNATIONAL's official representative MB Girinė.
Many competing companies seek to take advantage of the reputation of BEAL INTERNATIONAL and its products in order to mislead the consumer, and do not shy away from the use of deceptive, misleading or disparaging means to sell products of significantly inferior or unauthorised quality. Please be alert to any counterfeit or imitation products and, if necessary, inform the management of MB Girinė by e-mail to info@girine.lt or info@beal.be.
Header texts (from top to bottom according to layers of diagrams).
Abbreviation: MC = MORTEX COLOR
Technical system: interior and exterior
- Third finishing layer (optional) MC 2- F1 or F2 (inside only) or MC2-N (inside and outside)
- Technical Layer 2 MC2-N
- Technical layer 1 MC2-N
- Adhesion primer (inside only) Resipox W can be used externally
- Background
Semi-technical system: inside
- 2nd finishing layer (optional) MC 2- F1 or F2, or MC2-N
- Technical layer 1 MC2-N
- Adhesion primer
- Background
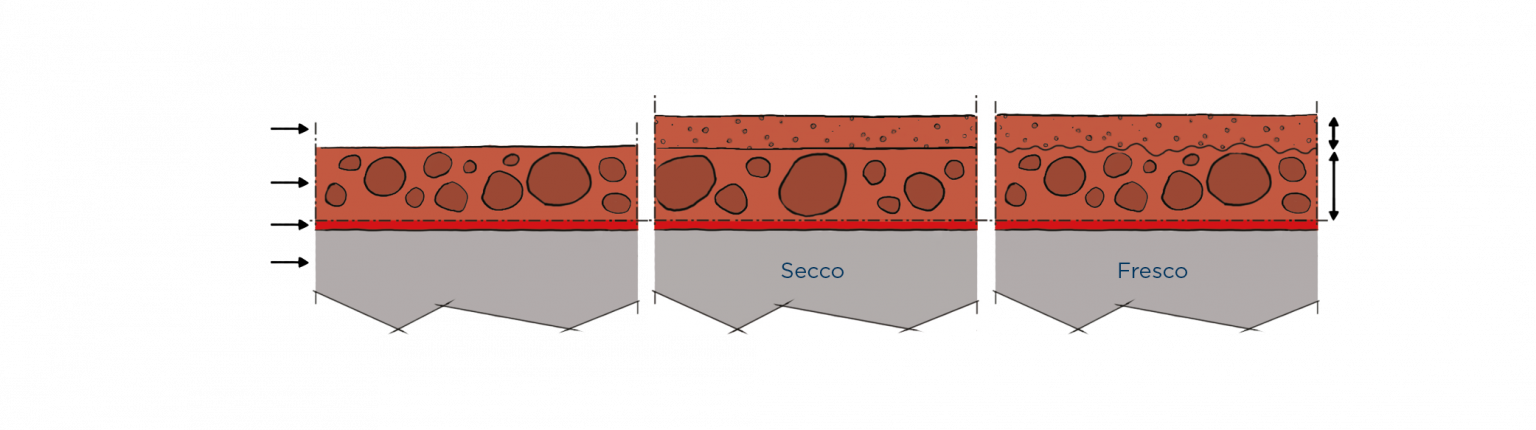
Decorative system
- 2nd finishing layer MC 2-N or F1 or F2 or F3 or F4
- 1st MC 2-N or F1 or F2 or F3 or F4 finishing layer
- Adhesion primer
- Background
*For classic works with an area of at least 50 m². A fixed price applies to smaller works.
Price: the estimated cost does not include finishing and takes into account the average service price.
Covering type | Cost of materials and coating / m² ** | Material cost / m² * |
Price excluding VAT | Price excluding VAT | |
Technical | 100-130€ | 30-37€ |
Semi-technical | 70-90€ | 25-30€ |
DECO | 50 € | 18 € |
* Cost of materials for one layer. (Usually, two to three layers are used, depending on technical requirements)
** The indicated estimated price for work is for a minimum of 50 m². Smaller or specific jobs can be priced upon request.
If the products are kept in their original, well-sealed packaging and stored according to the recommended conditions in the technical data sheets, they can be reused for another job. Therefore, BEAL sells neutral, unpainted products.
No. We can never guarantee other products outside our brand, for the simple and important reason that we have no control over the manufacturing process.
Incompatibility can occur by directly mixing, using them, and long after their use.
Yes, if the pool coating technologies are strictly followed. For this, please contact our technical department.
To be effective, the varnish must be applied in accordance with the technical rules and instructions given in the technical data sheets available on here or at bealinternational.com .
Damage to a scratched lacquered substrate may be equivalent to damage to an unprotected substrate. Stains in such areas may be difficult or impossible to remove.
The technical data sheet for each product must be scrupulously observed when using each product (available here or www.bealinternational.com).
To achieve effective results, you need :
- apply the protection to a clean and dust-free surface and allow it to dry completely,
- Apply varnishes with suitable brushes and rollers and cross regularly with each swipe, reducing the pressure of the tool on the crescent.
- ant struktūrizuotos ir (arba) atvirų porų atramos būtina bakstelėti "ad hoc" teptuku, kad lakas įsiskverbtų į porų susidariusias ertmes. Jei šis darbas nebus atliktas tokiu būdu, vanduo ir riebalai prasiskverbs į šias ertmes, kapiliariniu būdu bus surenkami nešvarumau ir išryškės dėmė, kurią sunku ar net neįmanoma pašalinti net ir naudojant pasirinktą apsaugą.
If stains have appeared on the MORTEX® lacquer coating, they are most likely due to the ingress of dirt through the lacquer's openings (scratches, impacts) or due to the improper application of the lacquer without following the application procedure protocol given in the technical data sheet.
To identify possible causes and how to avoid them, see the Frequently Asked Questions "What are the causes of stains in MORTEX® and how can they be avoided ?".
You can try capillary cleaning, which is done by applying several layers of absorbent paper (see "Capillary Cleaning Technique" in this FAQ).
However, if the result is not satisfactory, there is a priori no alternative but to sand the surface with a diamond tool, which will remove the varnish. It will then be necessary to sand the upper part of the MORTEX® coating until the stain has completely disappeared. A new coat of MORTEX® will then need to be applied, perfectly smoothing the surface of the coating to prevent the same problem from recurring. In some cases MORTEX COLOR 2-F2 may facilitate the smoothing.
After the MORTEX® coating has dried (see Technical Data Sheet, available at www.bealinternational.com), apply the chosen protection according to the technical installation instructions.
Attention: if you are using a shower waterproofing technique, you will have to reapply the missing parts with two coats of MORTEX COLOR 2-N coating system.
(Also see FAQ "What are the different MORTEX® systems")
An elastic perimeter sealant (e.g. between walls and floors, floors and cladding, etc.), polymeric type MS (suitable for natural stone and glass), is recommended to compensate for movement due to material expansion. The use of a sealing primer is recommended.
These elastic sealants do not leave any marks on the MORTEX® coating or other materials, unlike conventional silicone. The advantage of MS Polymer is that it is watertight. This type of sealant is used for seals that may encounter movement (expansion, etc.).
The elastic seal must be applied before applying the oil base protection.
It is best to pull the MORTEX® cover 3 mm away from the shower tray with a restrictive corner and then fill the gap with MS polymer sealant.
Carefully carry out the installation operation. If necessary, use a sealing primer.
An MS polymer sealant should also be applied around the water inlets (there are no special round stop profiles for this application).
The elastic seal should be checked and replaced if necessary.
Yes.
In any case, the surface must be wiped down to keep it firm and clean.
The protective coating, if any, on the MORTEX® coating must be completely removed.
In the case of impregnated protective surfaces, the material must be sanded to the depth of penetration of the protective material.
The use of RESIDUR primer is optional, but will facilitate the application of the new MORTEX® coating layer.
It is essential to strictly adhere to the technical data sheet when using each product.
To meet this need, BEAL has developed the MORTEX COLOR 2-F1, F2, F3 and F4 range of coatings.
When used with polycarbonate plaster, they have a low impact. The F1 and F2 series are more suitable for flooring as a finish. The F3 and F4 series are more suitable for walls and ceilings.
The transparency effect is also possible if it is "pulled" very strongly (MORTEX COLOR-F4 plaster). On the other hand, too much manipulation with this tool can lead to undesirable effects.
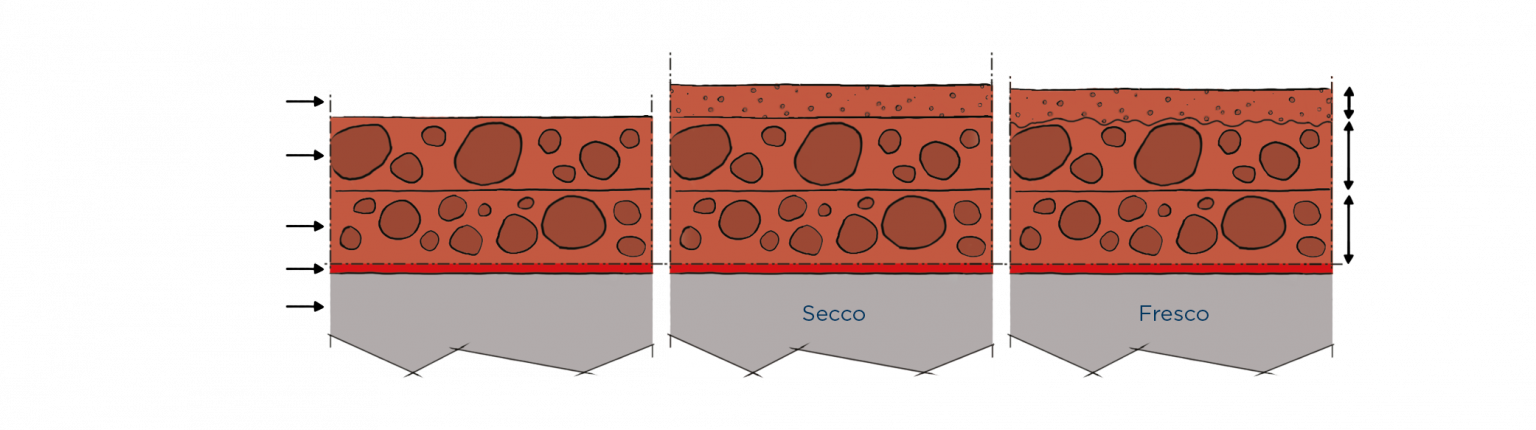
Traces of reworking may appear if the entire surface layer has not been applied "fresh in fresh" or if the pigmentation of the mix is not uniform.
MORTEX COLOR 2-N coating was designed to allow for the independent creation of effects and strokes that a master may want to leave as a trace to "immortalize" their work. This enables some talented and experienced masters to create characteristics that only they can achieve, and this is the desired aspect of MORTEX® coatings - the satisfaction of both the end customer and the one applying it.
In terms of application, the private customer can use the MORTEX® product himself for small surfaces.
In practice, this is not always possible for larger surfaces.
Some private individuals can achieve better results than some professionals. This is also true in other fields.
MORTEX® does require a certain degree of dexterity in the use of the tools available for the job, depending on the desired finish.
To get acquainted with the product, "INTRODUCTORY" training sessions are planned; please familiarize yourself with our training program on the website.
Always work on a stable, clean and dust-free surface.
If in doubt, use BEALTEX reinforcement fabric, which must be laid as a sandwich (between two layers).
Glass fibre or our BEALTEX reinforcement fabric does not give a full guarantee of performance as it will only withstand very small movements.
It is the reinforcing mesh (reinforced textile mesh) that will stretch, taking over the effect of the substrate movement. The MORTEX® product will then undergo stresses which may result in several micro-cracks rather than one large crack in the original substrate. MORTEX® coating is flexible but not elastic.
It is always challenging to address active cracks without taking steps in the area of "substrate modification." Therefore, it is essential to respect the expansion joints of MORTEX® coatings by installing an expansion joint in the substrate structure.
Causes of stains
When MORTEX® is used in highly structured applications, where micro-holes of various sizes are formed, fatty liquids or other liquids can penetrate through these openings.
These places are in fact the weak points of the pavement and its protection. It is very important to treat these cavities thoroughly to avoid possible penetration. If protective products (varnishes, oils, etc.) are applied in the normal way (roller, brush, etc.), they will not penetrate these cavities because they are too thick. They need to be pressed in with a tapping brush/brush to cover the edges and bottom of these cavities.
Therefore, in these areas, we experience the side effect of capillarity from under the protection, which leads to a blotchy base. The latter can only dry through the small openings formed in the micro-depressions mentioned above. The grease can never escape.
For "technical" layers (floors, showers, etc.), the presence of open pores (cavities) is already a defect in the coating. This defect interferes with the tightness of the system and will tend to lead to blockages in these areas.
The presence of stains in some places and not in others proves that protection (varnish, etc.) is effective where it is well applied.
The stains are only in areas that have not been protected. It is therefore very important to apply varnish or other protection to these small untreated cavities. These untreated cavities should, of course, always be avoided.
Smooth surfaces can also be affected if the protection is not applied correctly.
The right finish to avoid stains
We always recommend that a sample is made and tested in advance to determine the finish (structured, smooth, etc.) for the future use of the property.
For example, we always recommend using a smooth finish for the shower/countertop to avoid stains and make maintenance easier.
It should be borne in mind that these cavities are sometimes difficult to protect, as some of them are connected through their bottom. It is in these cavities that dirt (dirt, soap, cleaning residues, oily products, hair dyes, flour, butter, etc.) settles. Micro-cavities allow water to penetrate.
It is therefore very important to carefully seal surfaces to prevent the formation of large micro-cavities and to apply the protective material according to the type of surface and the challenges it will face.
See MORTEX® product data sheet (available at www.bealinternational.com) and the training programme (available from the training).
Please note: Duše MORTEX must be applied perfectly evenly so that the surface is completely free of pores (micro-voids).
This allows for better application of the protectant, as well as avoiding soap residues, limescale, ... incrustations.
Another advantage is easy cleaning. See sheet "How to maintain MORTEX®".
Then apply a suitable protective layer (see the technical data sheet available at www.bealinternational.com).
Many bathtubs and sinks have been successfully manufactured.
However, for various reasons, we do not recommend this type of construction.
1. Causes of contamination
Contamination of MORTEX COLOR 2-N is caused by a structured or highly structured coating. MORTEX® allows and permits a wide range of coating finishes from very smooth to smooth, structured or even highly structured. The smoother (closed) the coating, the lower the risk of contamination, as there are fewer micro-depressions for the accumulation of fine dust.
For "technical" coatings (floors, showers, etc.), a substrate with open pores (cavities) is already an application disadvantage. This disadvantage interferes with the waterproofing of the system, which is prone to clogging in these areas.
In the case of structural floors, dirt will tend to show up more quickly, which is logical (the same goes for any deep seams in tiles, travertine tiles, etc.).
Dirt will also be more likely to occur if cleaning is irregular, quick and/or superficial, which is normal. As dirt builds up, it will become more resistant, as it will be in the form of dried sludge after the cleaning water has passed through.
2. How to avoid dirt?
A perfectly smooth, well-protected finish is suitable to prevent the coating from fouling over time.
We always advise the installer to provide the end customer with a sample (at least 80 cm x 80 cm) to be validated before starting work.
It is not recommended to ask for structural floors in areas that are relatively sensitive to dirt (garden entrances, etc.).
MORTEX COLOR 2-F2 can be applied on top of the last technical MORTEX COLOR 2-N layer, which is thinner, resulting in a smoother and tighter finish (no micro-cracks).
The contractor (master applicator) will ensure that the appropriate protection penetrates into all micro-depressions of the coating.
Cleaning
If all the precautions described above have not been taken when applying MORTEX COLOR, dirt may build up in the pores and micro-depressions left in the coating. This is a build-up of fine dust that settles at the bottom of the cavities and will not be removed when the surface is first wiped with water!
For a thorough cleaning, we recommend wetting the surface with water at room temperature. The dirt should be allowed to capillarize for a few minutes to soften it and make it easier to remove by lightly wiping it with a soft brush, which will remove any residue that can be collected with a cloth.
Repeat the operation if necessary.
Yes, this type of heating technology is fully compatible with MORTEX. As with other types of coatings, precautions must be taken to ensure proper performance with regard to the substrate and temperature control.
Background
The screed must be dry and clean before use (see Technical Data Sheet www.bealinternational.com), and the heating must be turned off 4 days before use.
Where the substrate is composed of other types of materials which are not stable and/or have seams (e.g. tiles, OPAL system, etc.), the necessary precautions must be taken to avoid, as far as possible, any movement due to expansion, variations in the surface and internal stresses, and movement due to creep, i.e. to choose :
- reinforced mesh or reinforced textile matting at the joints
- A reinforcement network to be embedded in the first technical layer.
- Special textile mortar adhesion mat in corners
- Separating membranes over the entire surface
Temperatures
As with conventional underfloor heating, the maximum temperature should be 28-30 °C.
Start heating (2-3°C every 48 hours in increments above the substrate temperature) when the MORTEX® product is completely dry (at least 7 days). After turning off the heating system, the product is always restarted by increasing the temperature in 2-3 °C increments every 48 hours.
The substrate shall be sound, dry before and after installation, clean, matt, dust-free and non-greasy. It shall be hard, non-freezing and non-breaking.
MORTEX® COLOR 2 adheres to many substrates:
- Mineral substrates: mortars, screeds, concrete, masonry plasters, cementitious base coatings, matt tiles, etc.
- Reclaimed wood or water-repellent sintered substrates such as MDF (Medium).
- Polystyrene or polyurethane panels with reinforced cementitious coating or fibre cement panels.
- Gypsum, plaster, normal or water-repellent gypsum boards.
- Tests with glass and metal have also been successful.
Test any other substrate. Plastic coatings should be avoided.
Where the substrate is composed of materials of a different nature, which are unstable and/or have joints (e.g. tiles), the necessary precautions must be taken to avoid, as far as possible, any movement due to expansion, variations in the surface and internal stresses, as well as movement due to creep, by choosing one of the following options :
- Reinforced mesh or reinforced textile mat at joints
- Reinforcement mesh inserted in technical layer 1.
- Special mortar-adhesive textile mat in the corners
- Separating membranes on the entire surface
It is essential to ensure that the foundation is stable. If there are any doubts, please contact us. It is always advisable to conduct a test.
For sinks and handwashing basins, MORTEX coating can be recommended. The results are amazing.
The end customer must comply with safety requirements. (Also see FAQ "How to care for MORTEX product").
The two layers of MORTEX® à fresco mean that when the second layer is applied, the first layer is not yet fully cured and is still hardening. The markers indicating the correct condition for applying the second layer are :
- checking the MORTEX® coating with the palm of your hand for any handprints.
- Tačiau šiek tiek pasistengus ir atlikus sukamuosius judesius pirštas vis dar gali patekti į MORTEX® dangą.
MORTEX® coatings 2-N, F1, F2, F3, F4:
- without finishing: maintenance and even cleaning without etching agent
- with finish : see the relevant technical data sheet for the specific MORTEX product.
To keep clean: FINISH SA TR diluted with water.
To remove limescale: see the FAQ "How do I remove limescale from a MORTEX® coating?".
Security (finishing) measures: Polythane N120, FINISH SA, Oil OH, Bipur, Repeloil, Bealwaxsee the corresponding technical data sheet for the specific MORTEX product.
At least 48 hours at 20 °C under normal conditions. The MORTEX® product must be sufficiently "hard" throughout its thickness, and its adhesion must be strong enough to withstand the stresses of polishing.
- Sand the protector on contact with the MORTEX® product until the stain disappears.
- Allow wet spots to dry. Ventilate the room well and watch the stains disappear.
- If necessary, apply the missing layers, checking their thickness (following the instructions in the technical data sheets, which can be found in www.bealinternational.com , the application report submitted).
- Apply the protection properly according to the instructions for use.
Never put a protective layer on the stain, as it will trap the stain and prevent it from being removed later.
If you only sand the protection, there is always a risk of residue in the small cavities of the MORTEX® coating. We therefore advise you to sand as you enter the MORTEX® product in order to obtain a MORTEX® coating without any protection.
Moreover, if there is still some protective product left in the micro cavities of the MORTEX® product, darker spots will appear in those areas where the old protection has settled. It will create the impression that there are two or three layers, even though you only applied one.
If BEALWAX needs to be removed for one reason or another (e.g. when changing the colour of the coating or when carrying out repairs), it should be done with a clean white cotton cloth with a small amount of turpentine. Coloured cloths may fade and leave stains.
Apply a small amount of turpentine to a specific area and rub with a cloth to remove the wax. Repeat the process until no wax remains on the cloth.
If the MORTEX® product is structured and not perfectly flat, it will not be possible to remove all the BEALWAX wax in small cavities. This remaining BEALWAX may cause the MORTEX® coating applied to it to peel off.
In this case, we advise you to lightly sand the entire surface to remove any possible BEALWAX residue. The sanded surface and the immediate surroundings should then be thoroughly cleaned and dusted.
To make MORTEX® easier to apply, a coat of RESIDUR primer should be applied first and allowed to dry.
The selected protection will then be used according to the installation method described in the technical data sheets available on www.bealinternational.com .
To remove any traces of lime and/or lime scale on the MORTEX® coating, you can use white spirit vinegar diluted in lukewarm water, which can be sprayed on the coating and left for a few minutes, then wiped with a soft sponge.
See the full maintenance sheet here (Link to sheet)
MORTEX® is very slip resistant (up to R13 with footwear and up to A+B+C barefoot). This resistance can be varied with the use of protection.
Please see our technical data sheet.
Depending on the future purpose of the work, you can choose one or other of the protective materials listed in the table below:
See our advice on protective coatings.
Always consult the relevant technical data sheets before use.
For maintenance of your pavement, see FAQs "How to maintain the MORTEX® coating and its finishing layers ".
Documentation
MORTEX® data sheets
DISSEL A15 - EN.PDF
FINISH_SA_TR-EN.PDF
MORTEX BEALCRYL 2 - EN.PDF
MORTEX COLOR 2-F - EN.PDF
MORTEX COLOR 2-N - EN.PDF
MORTEX-E-3 - EN.PDF
MORTEX RAPID+ - EN.PDF
MORTEX REPAIRC - EN.PDF
OIL OH TR - EN.PDF
POLYTHANE - EN.PDF
BEALWAX - EN.PDF
BIPUR_M_S_G - EN.PDF
RESIDUR - EN.PDF
RESIPOX W - EN.PDF
REPELOIL - EN.PDF
RESIPACT G - EN.PDF

MORTEX® color chart
Here we offer the color chart and shade formulas shown in the MORTEX brochure.